WIP: F-14 B/D
-
November 28th? Wow almost 2 months…. You still alive out there Stingray?
-
-
Well well well what have we here…
That’s a bunch of beautiful captures posted there. The final Iraq cruise video actually motivated me to start this project in the first place, thanks for that!
Happy new years ya’ll! A bunch of you probably thought this is another never ending dead in the water once promising and now left behind project - rest assured that no cat gets left behind here :).
Back to business, Baby.
Even the Grumman blueprints are worth sh*t when it comes to MLG proportions and measurements.
I retract that. While they are slightly inaccurate when it comes to the profile view in terms of angle and scale they are dead accurate when it comes to the ‘wheelbox’. It took me ages to find the error here you see above. No matter how I tweaked the landing gear it just wouldn’t fit in the bodyshell and constantly protrude through the landing gear doors…until now.
Full update later today, bitchez. -
Great Way to Start the morning baby!
-
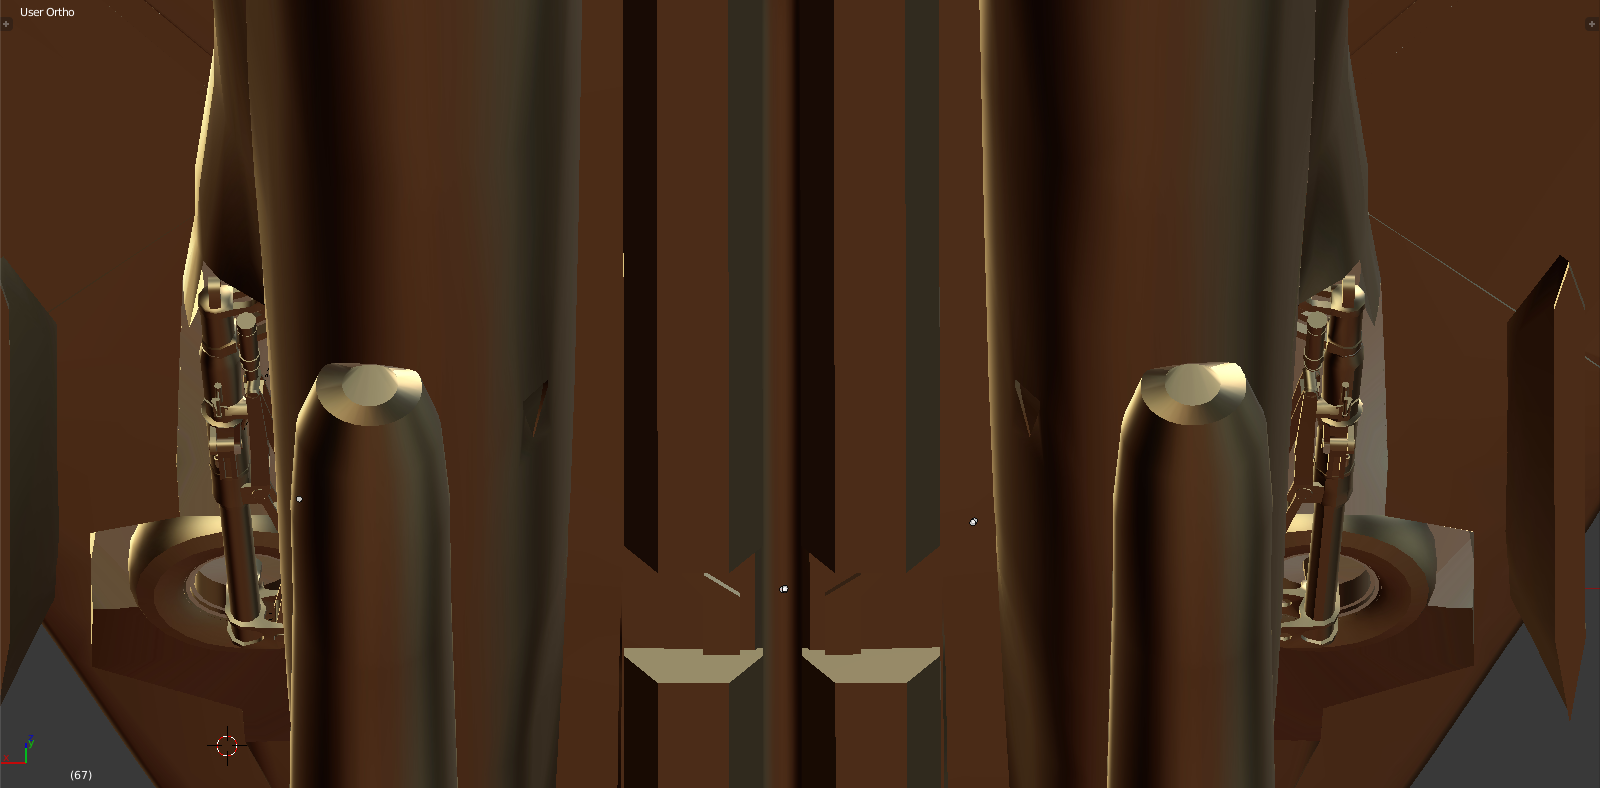
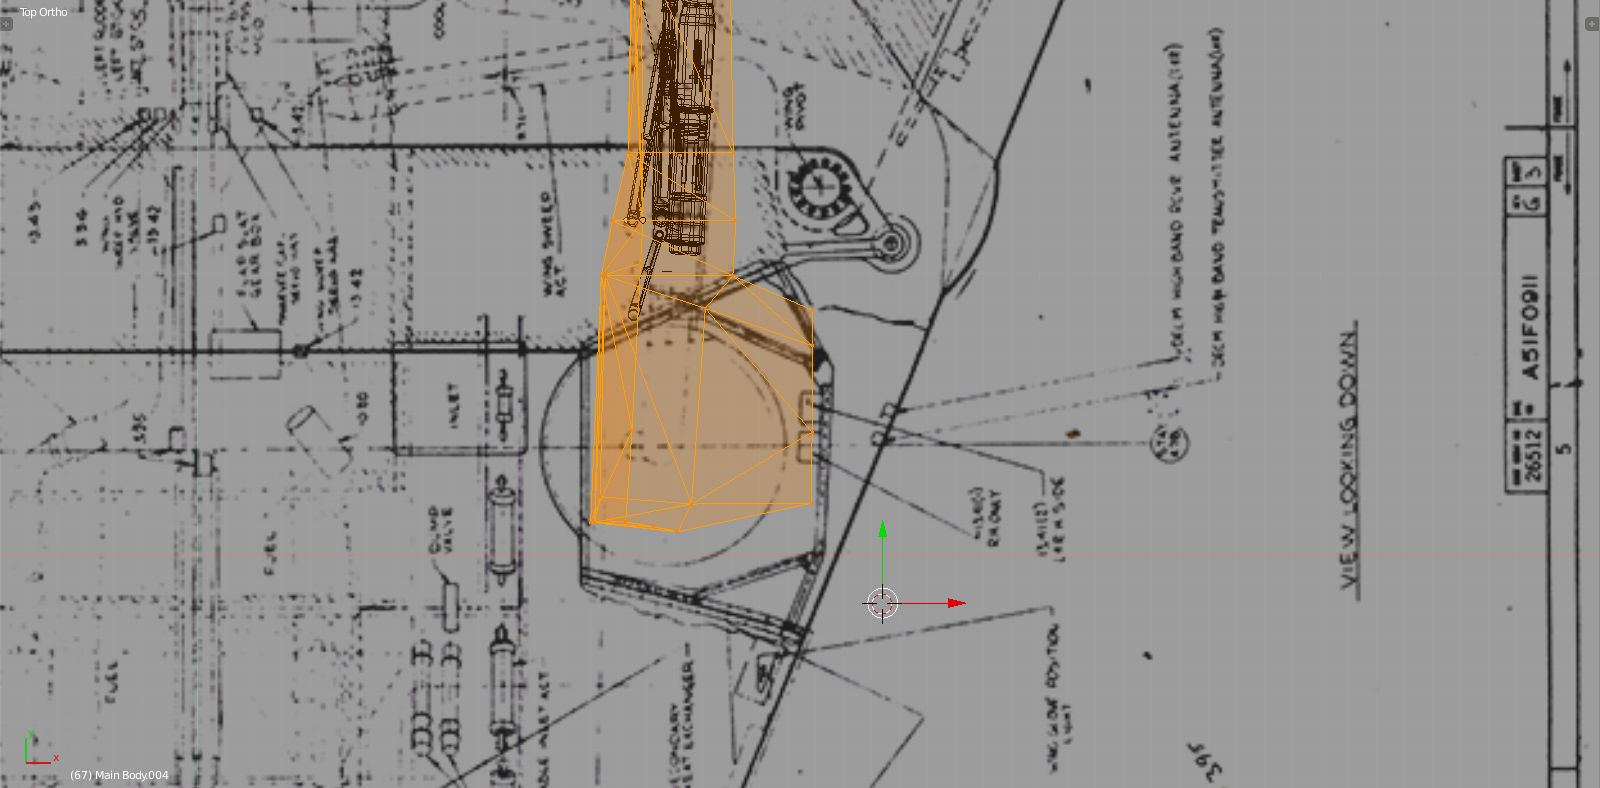
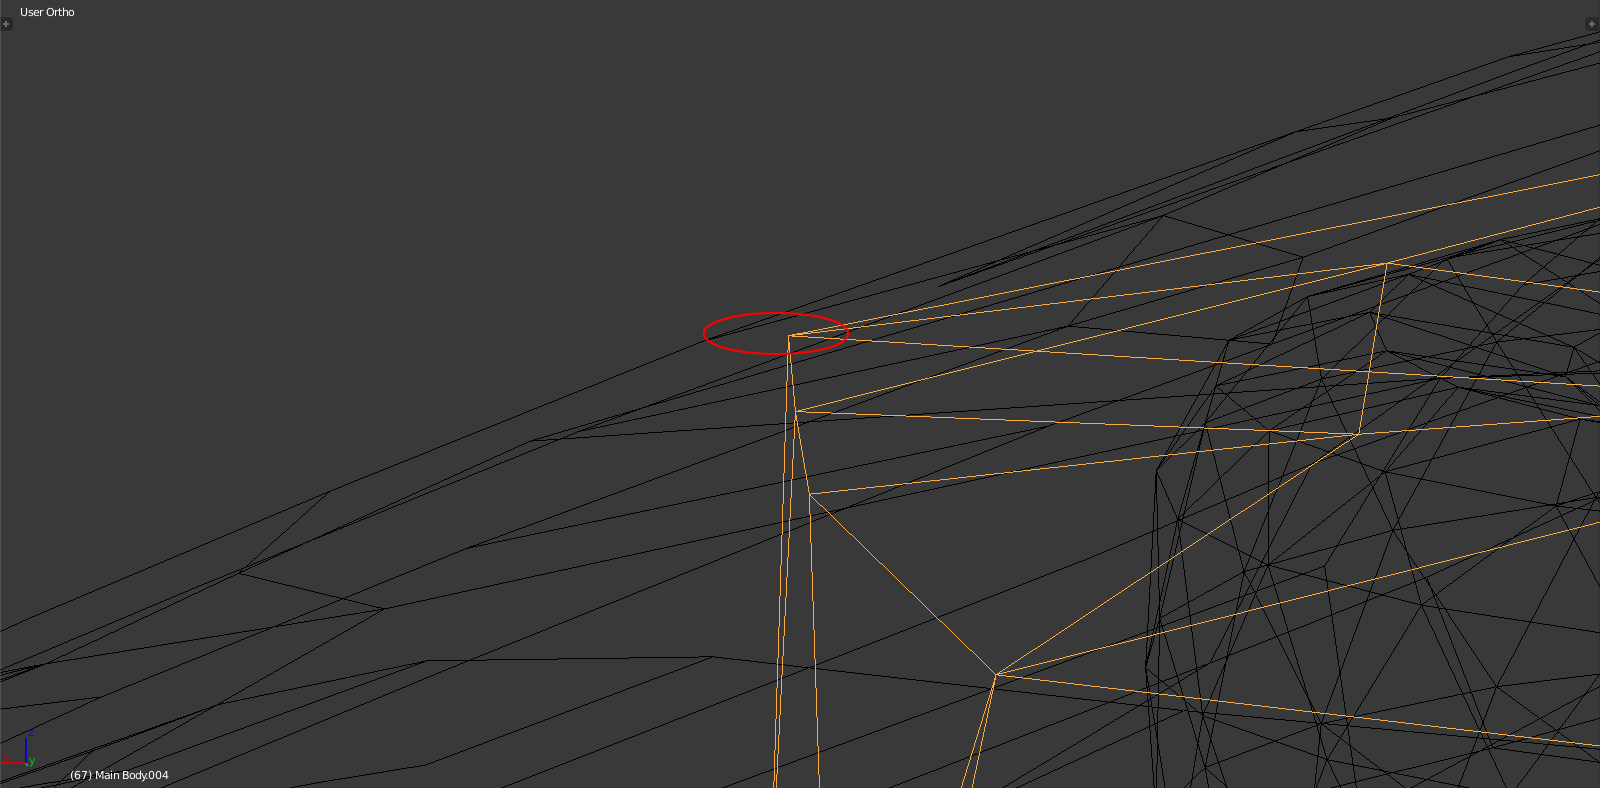
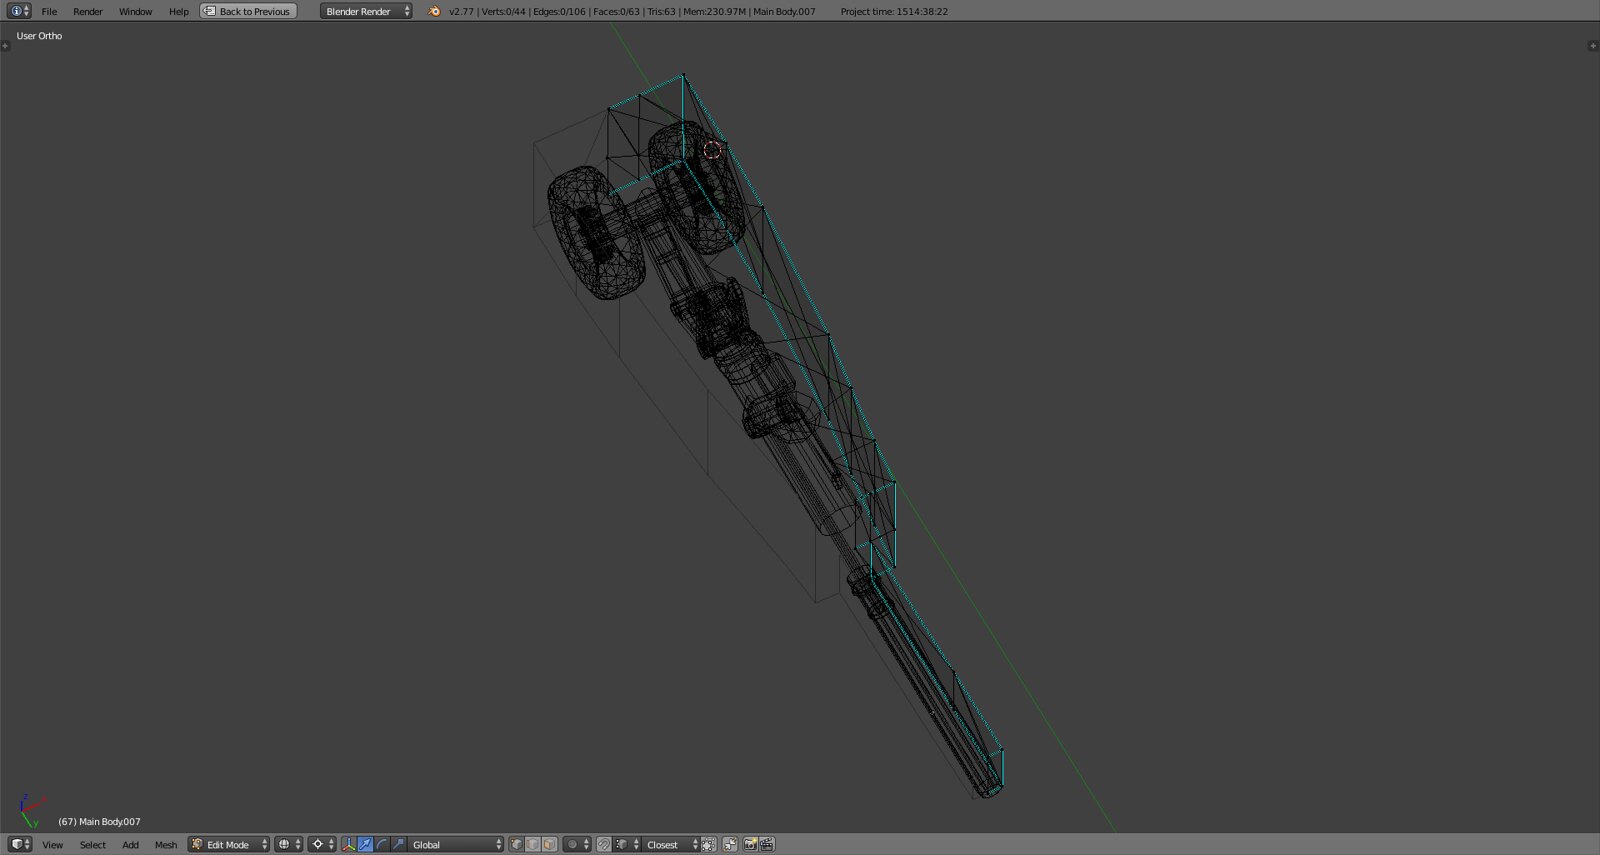
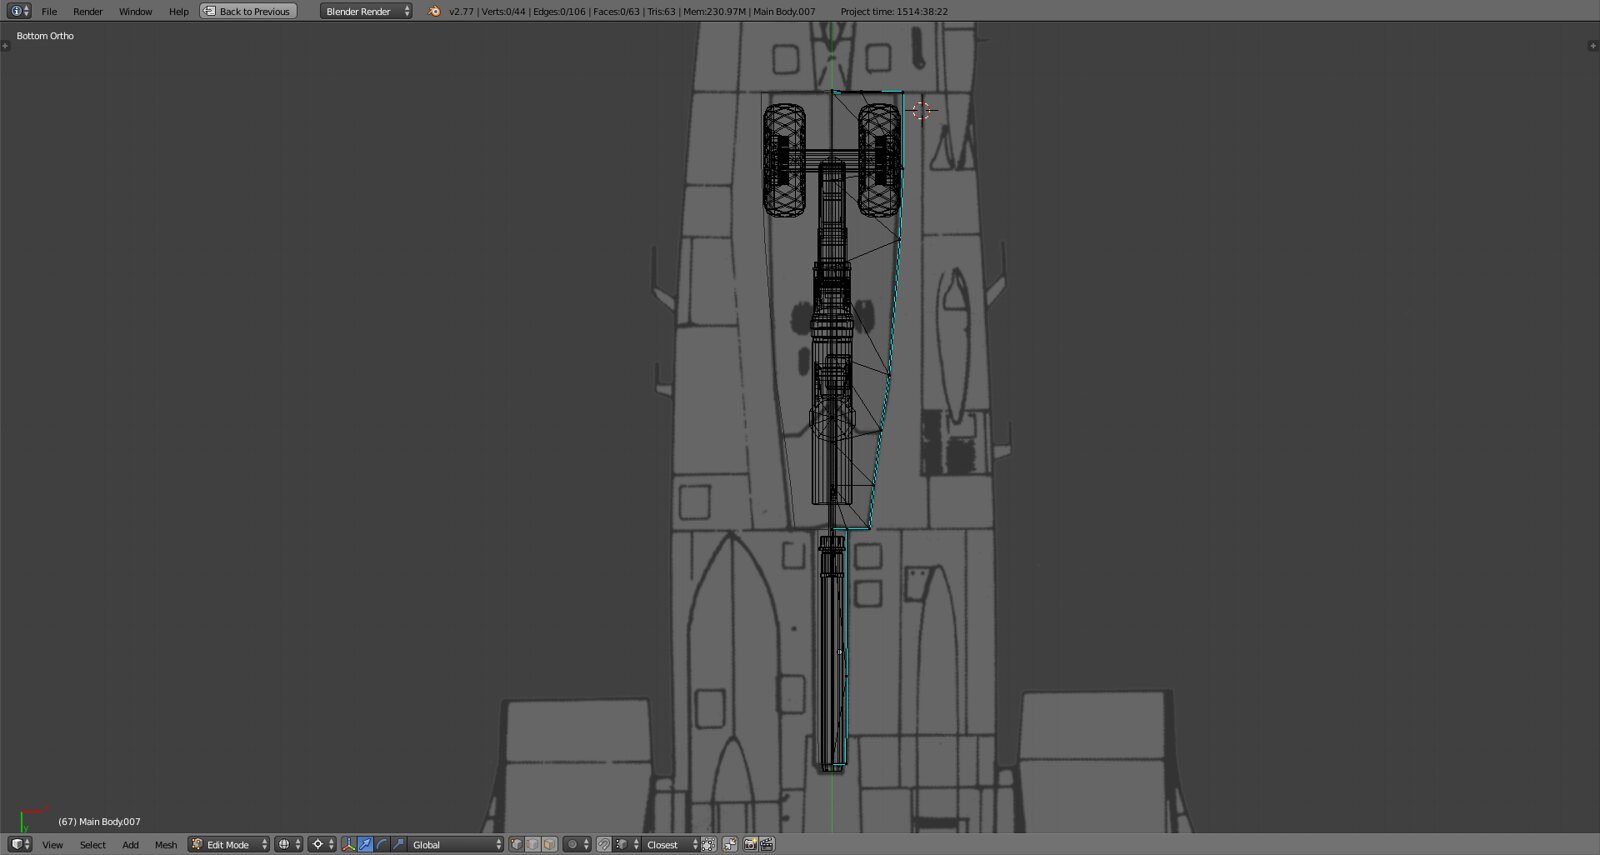
So what was the problem? This.
Basically the entire MLG sticks out of the fuselage. Move it up? Didn’t work. Rescale? Can’t cuz the scale is close 100% authentic (at least total length and diameter). Move it in? Can’t cuz then it won’t rotate freely. So what to do…
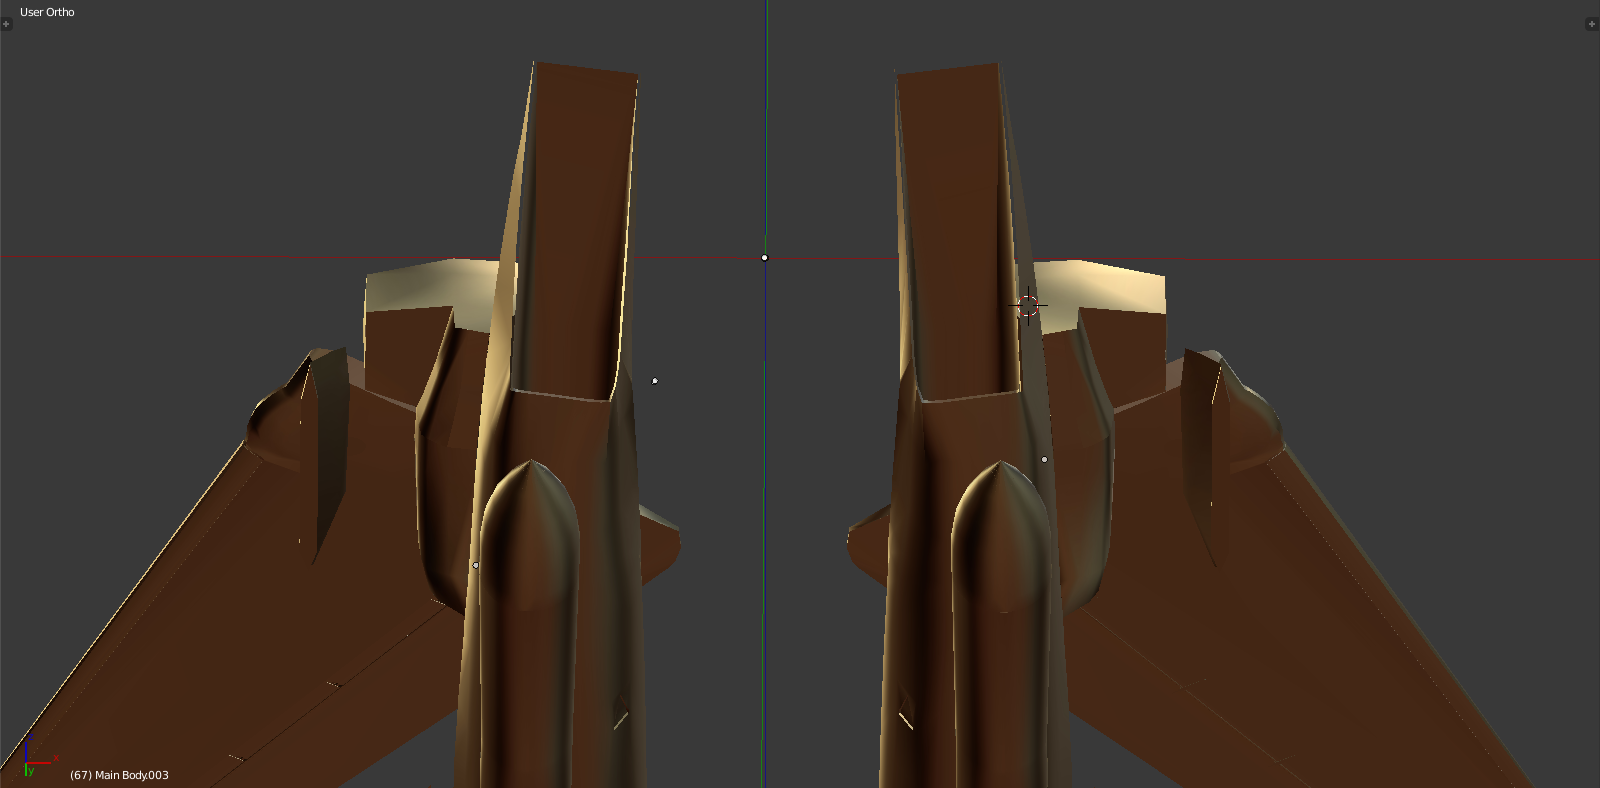
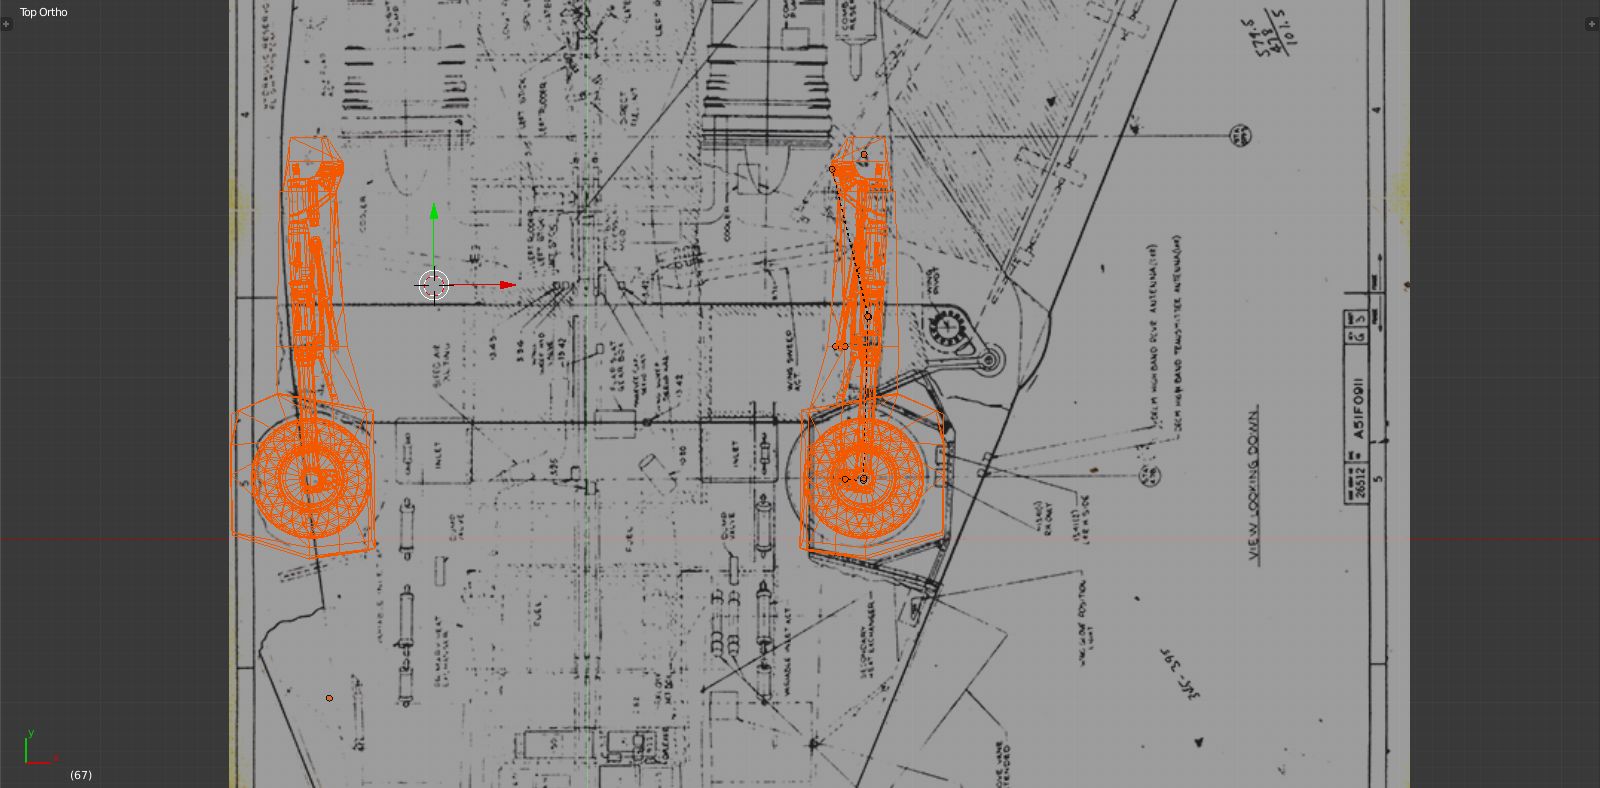
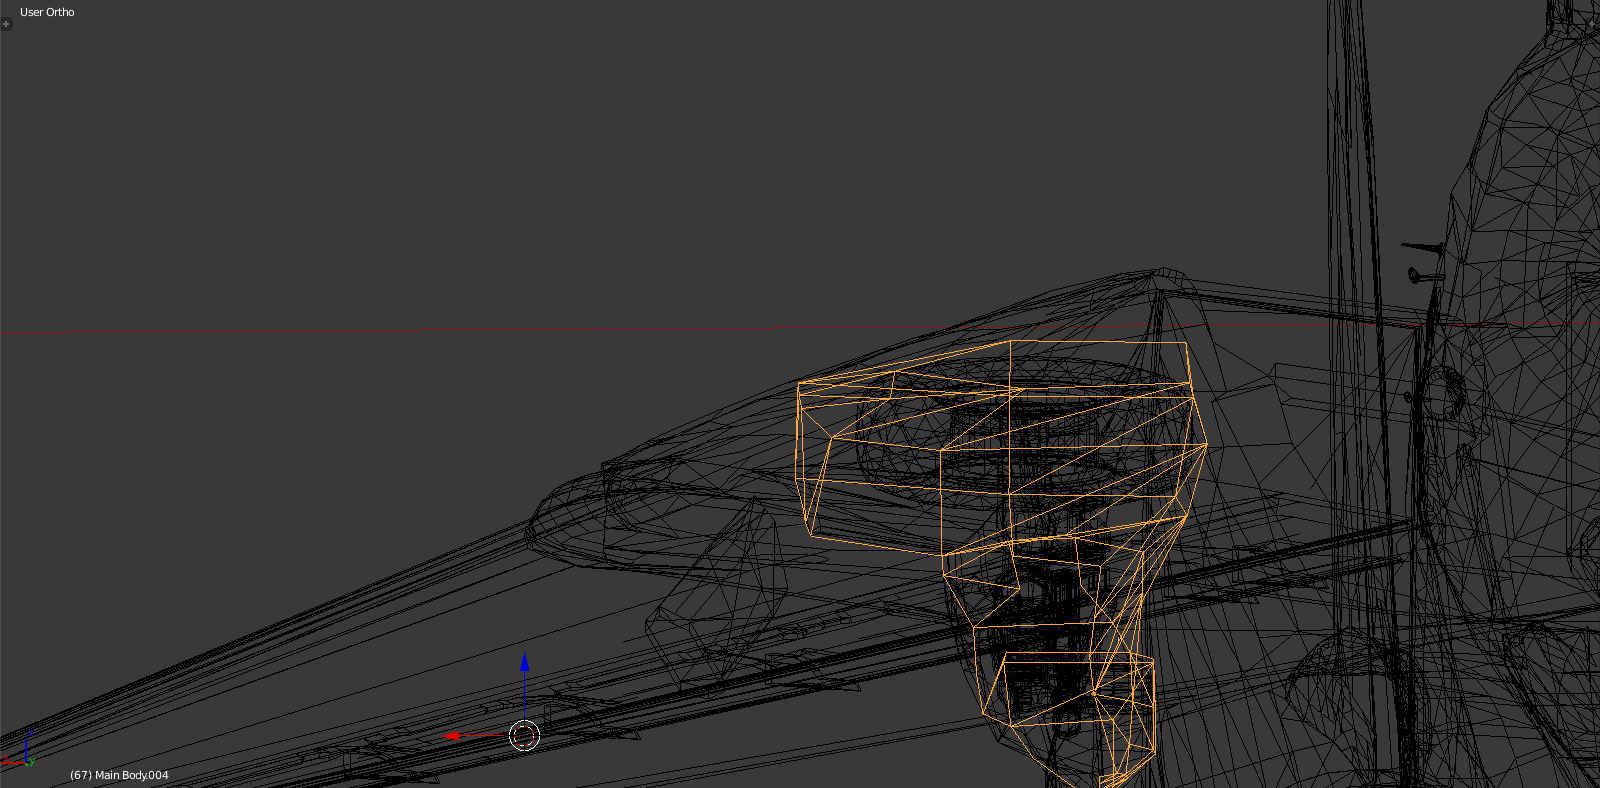
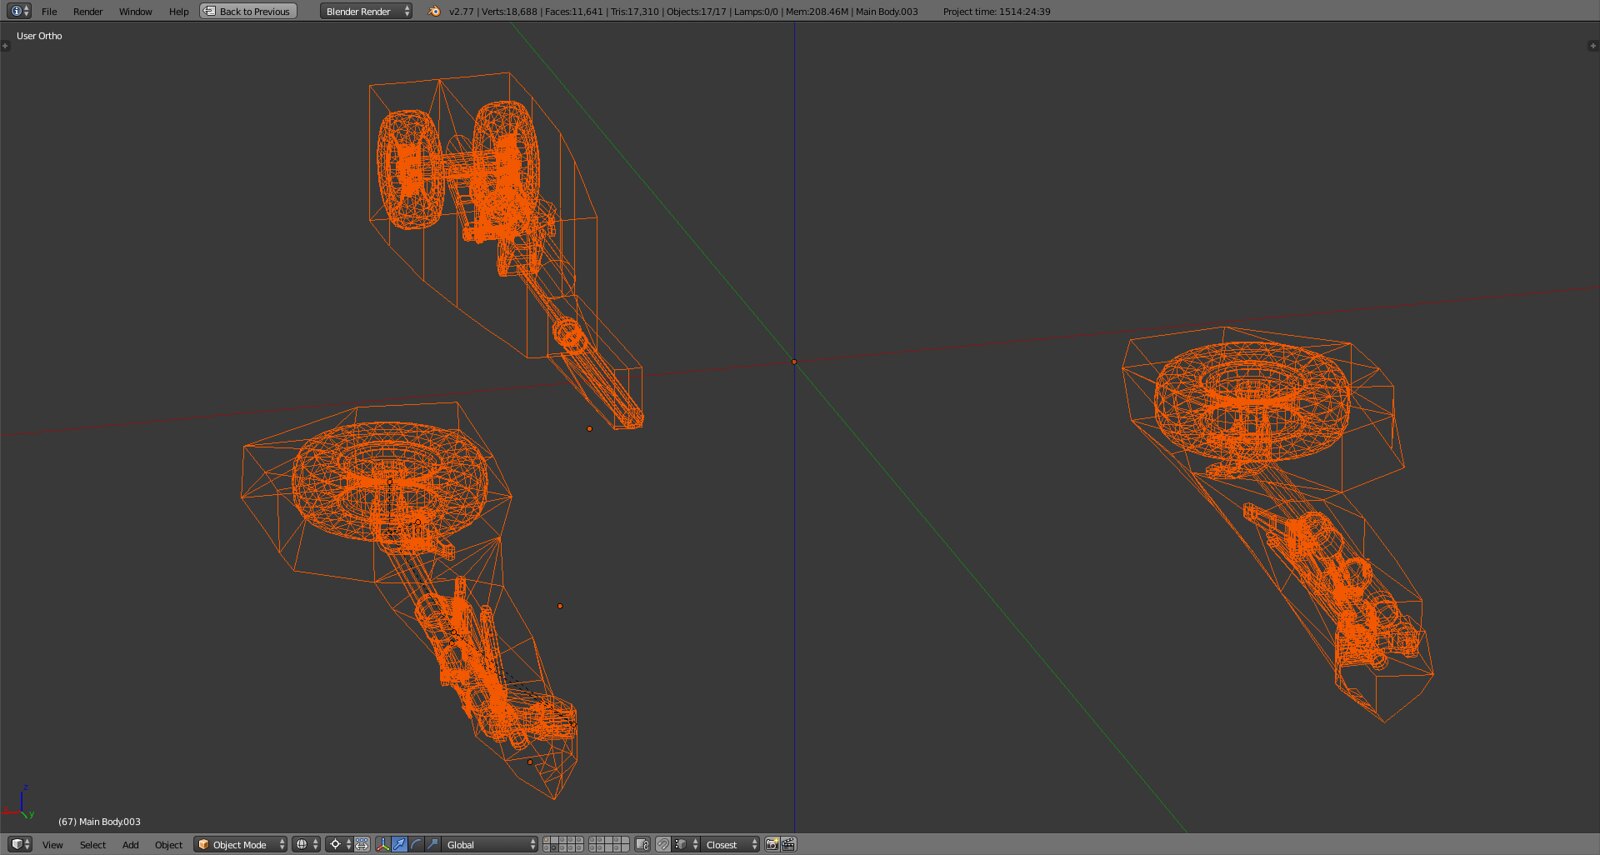
Here’s another look:
So the ‘wheelbox’ is too small, sits too far back and all in all just didn’t fit. So I remodelled and repositioned the box. The entire gear was then tilted inward slightly as per the blueprint and the wheel strut extended out a good 50% more. Finally enlarged the wheel somewhat and fiddled with the hyfraulic lines and stuff on the MLG.
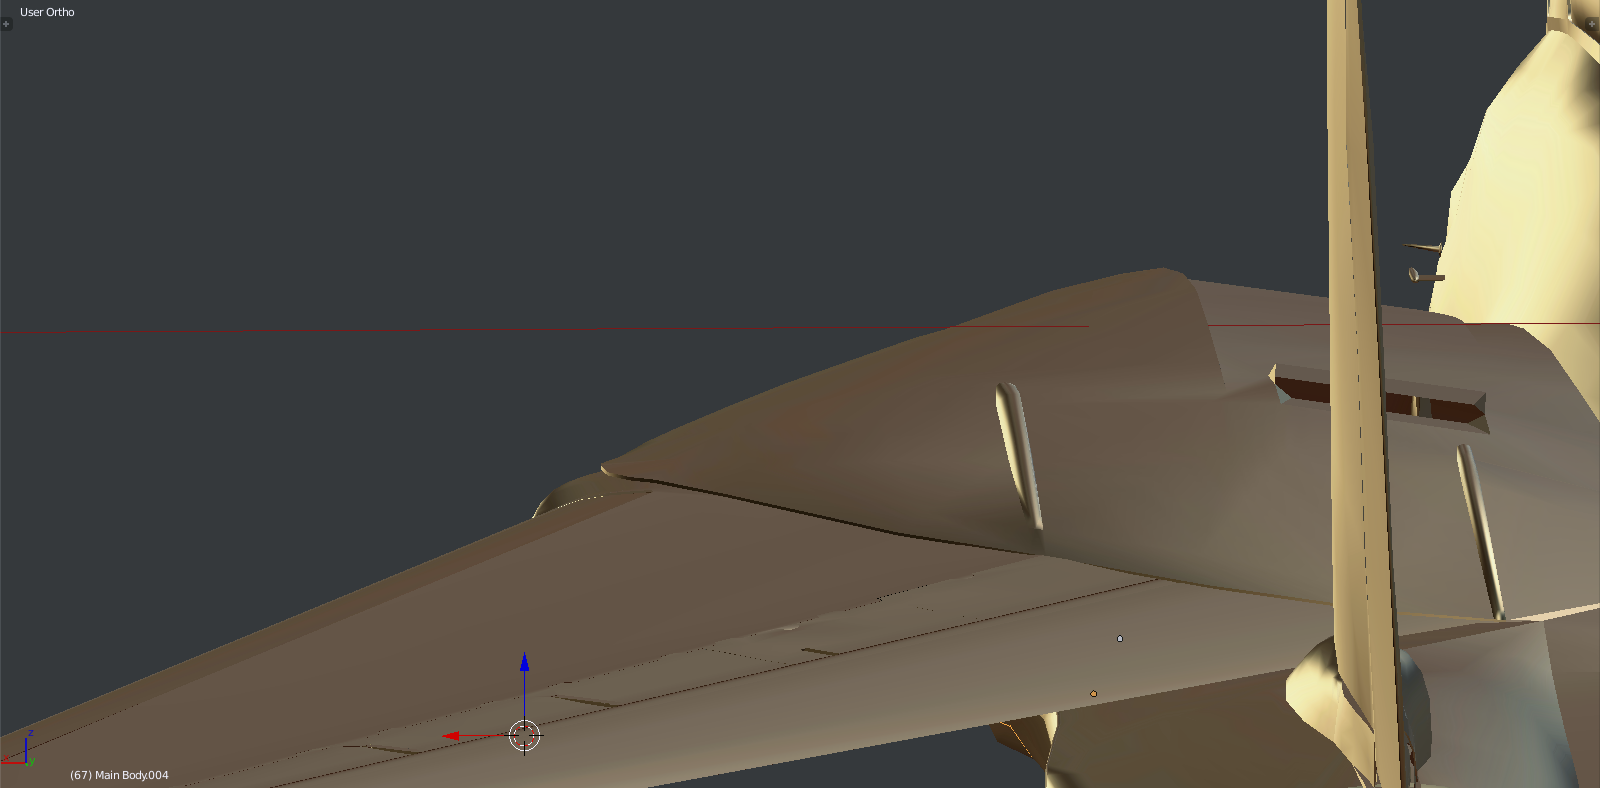
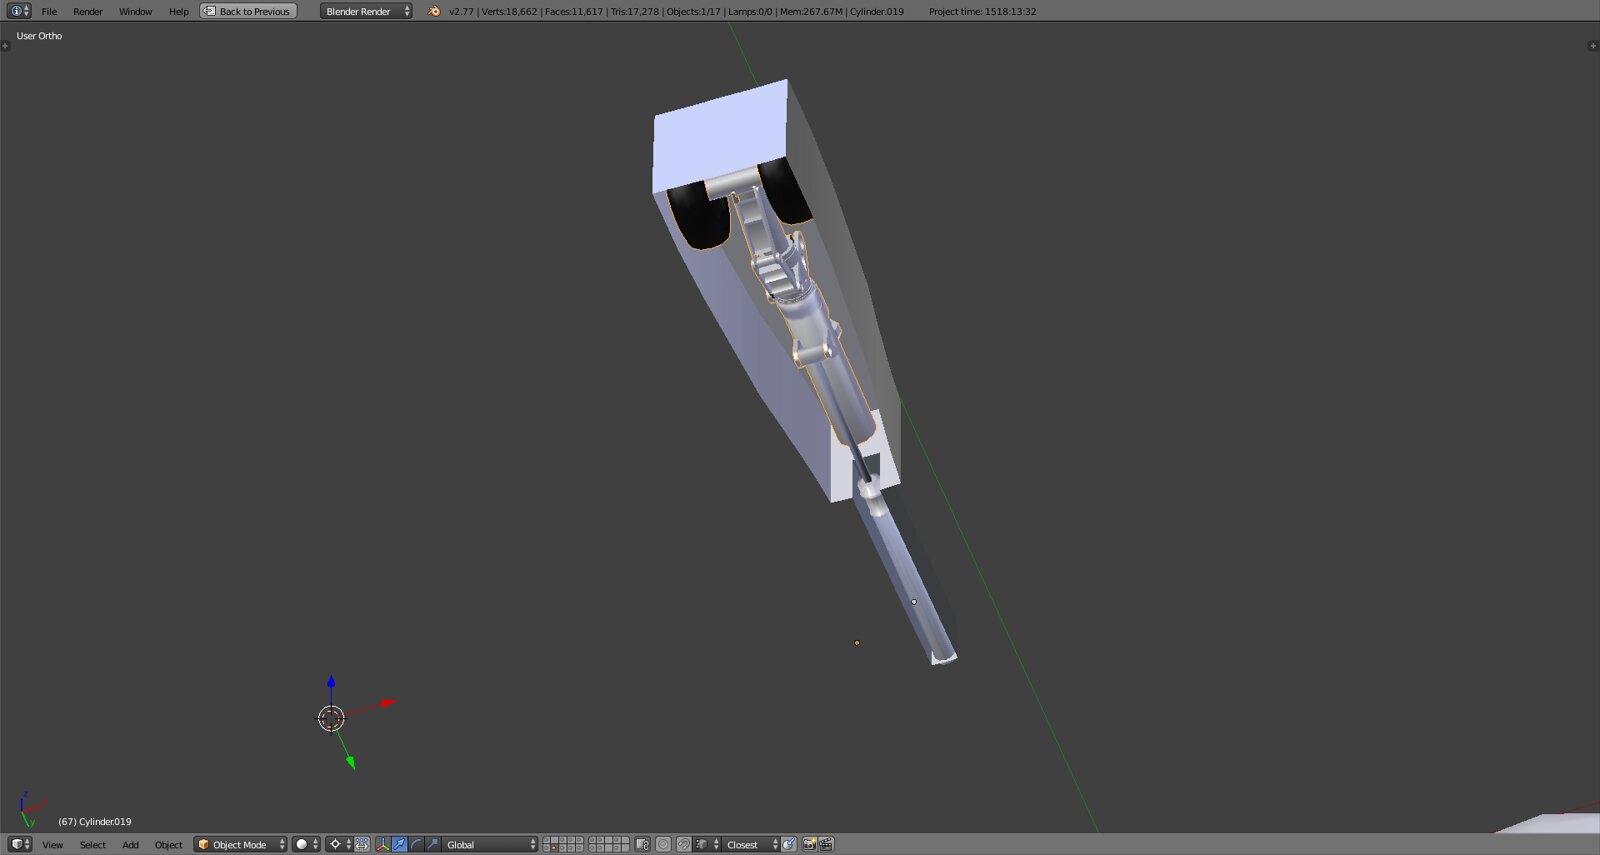
That looks better. Now need to check for clearance inward (engine pod/air intake), outward (landing gear doors), up (glovebox) and the upper inside rear edge cuz that is where the wings go when fully retracted. I tested this with full wing sweep and not oversweep but it should work. As you can see the margins are intensely small (like less than 10mm in some areas. Again the packaging is amazing on this design.
Wings:
As can be seen even in oversweep there is enough room.
Glovebox:

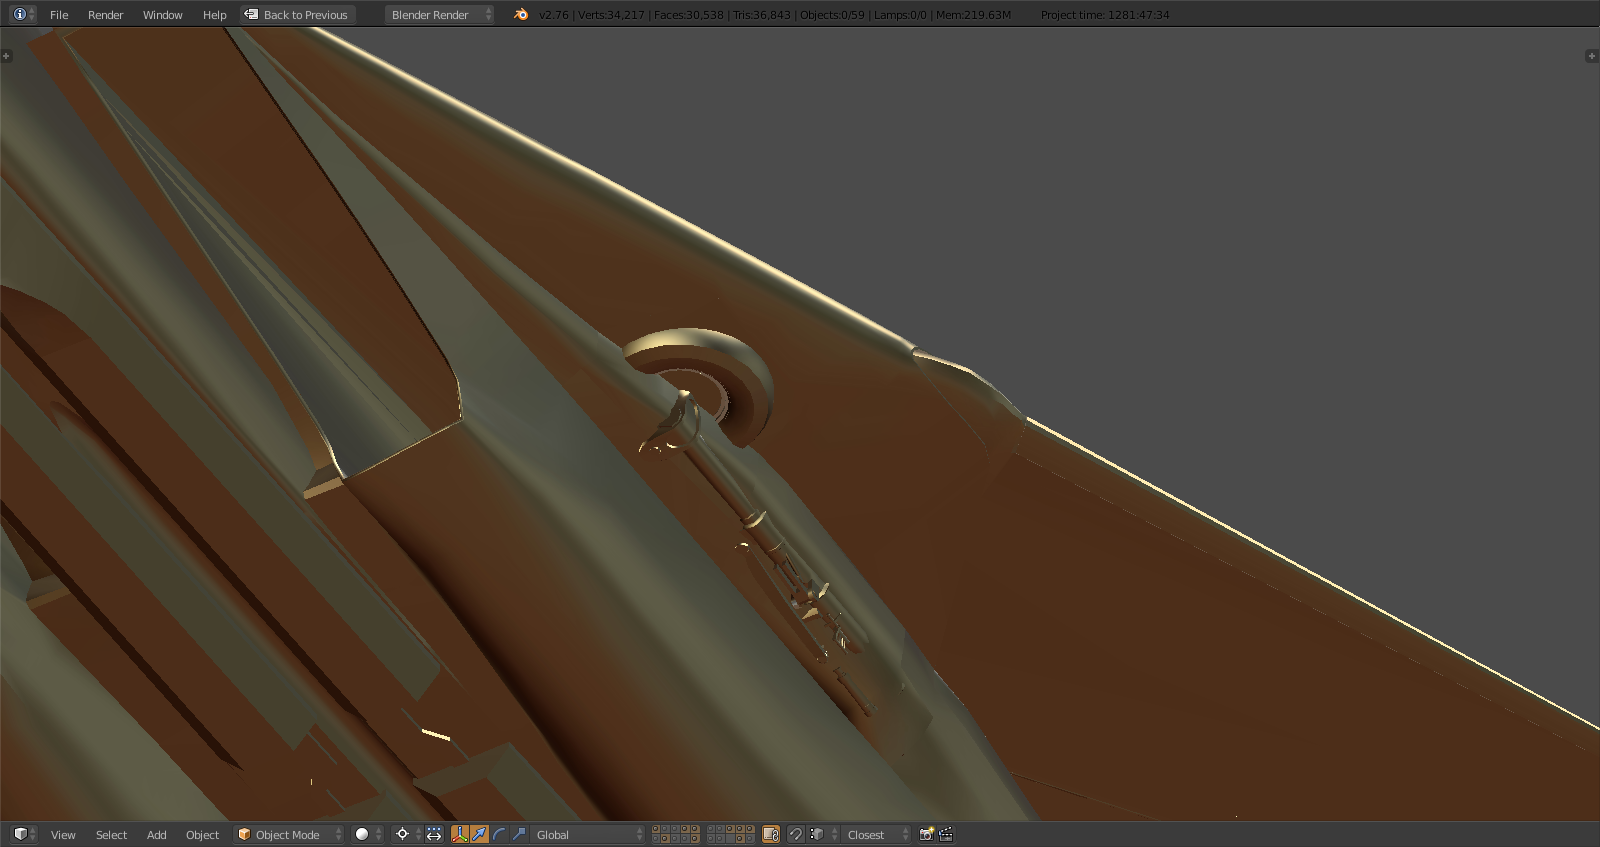
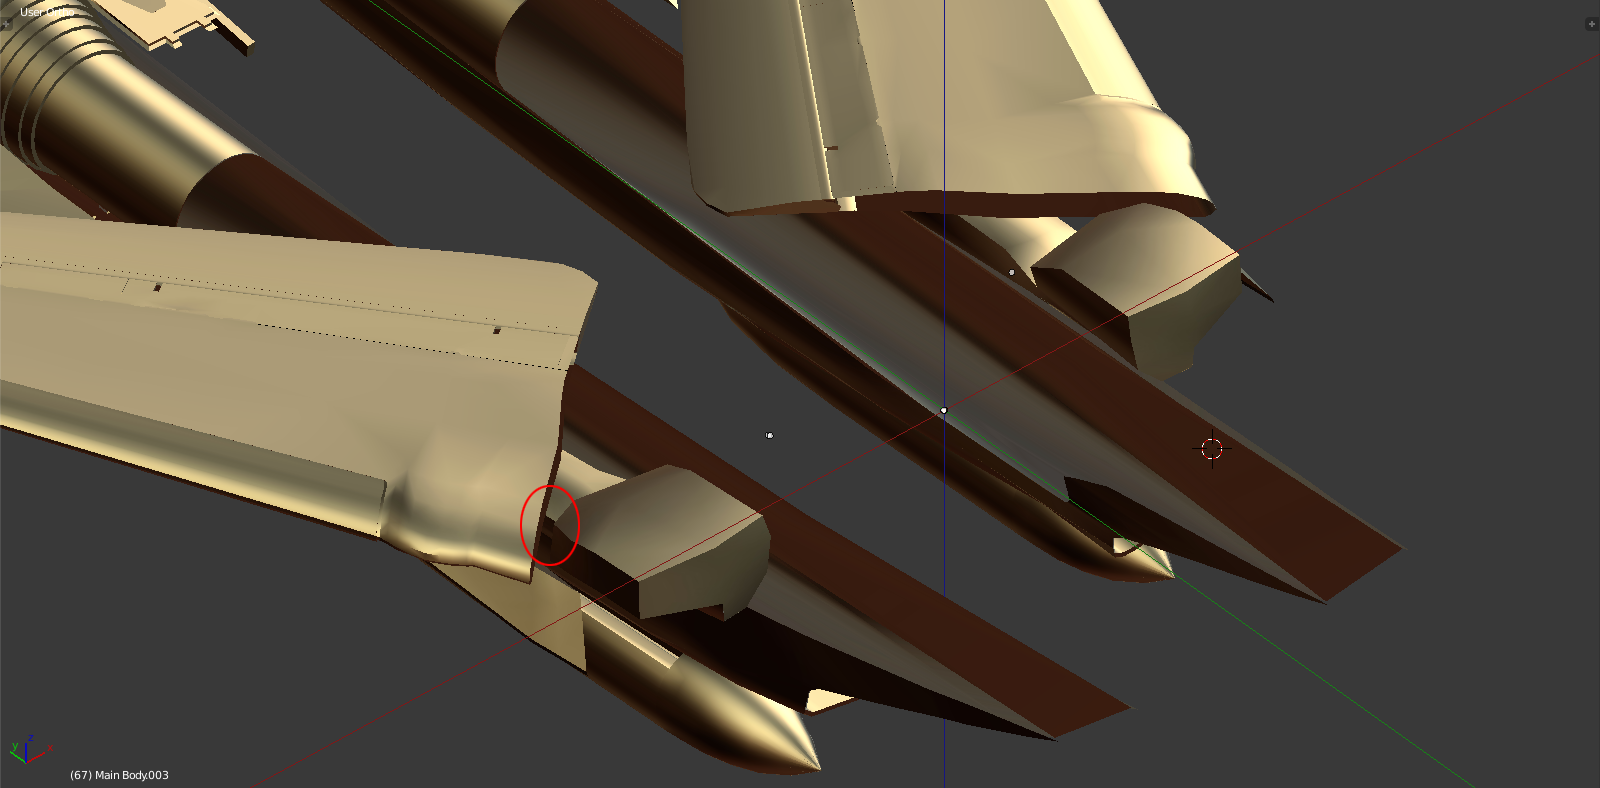
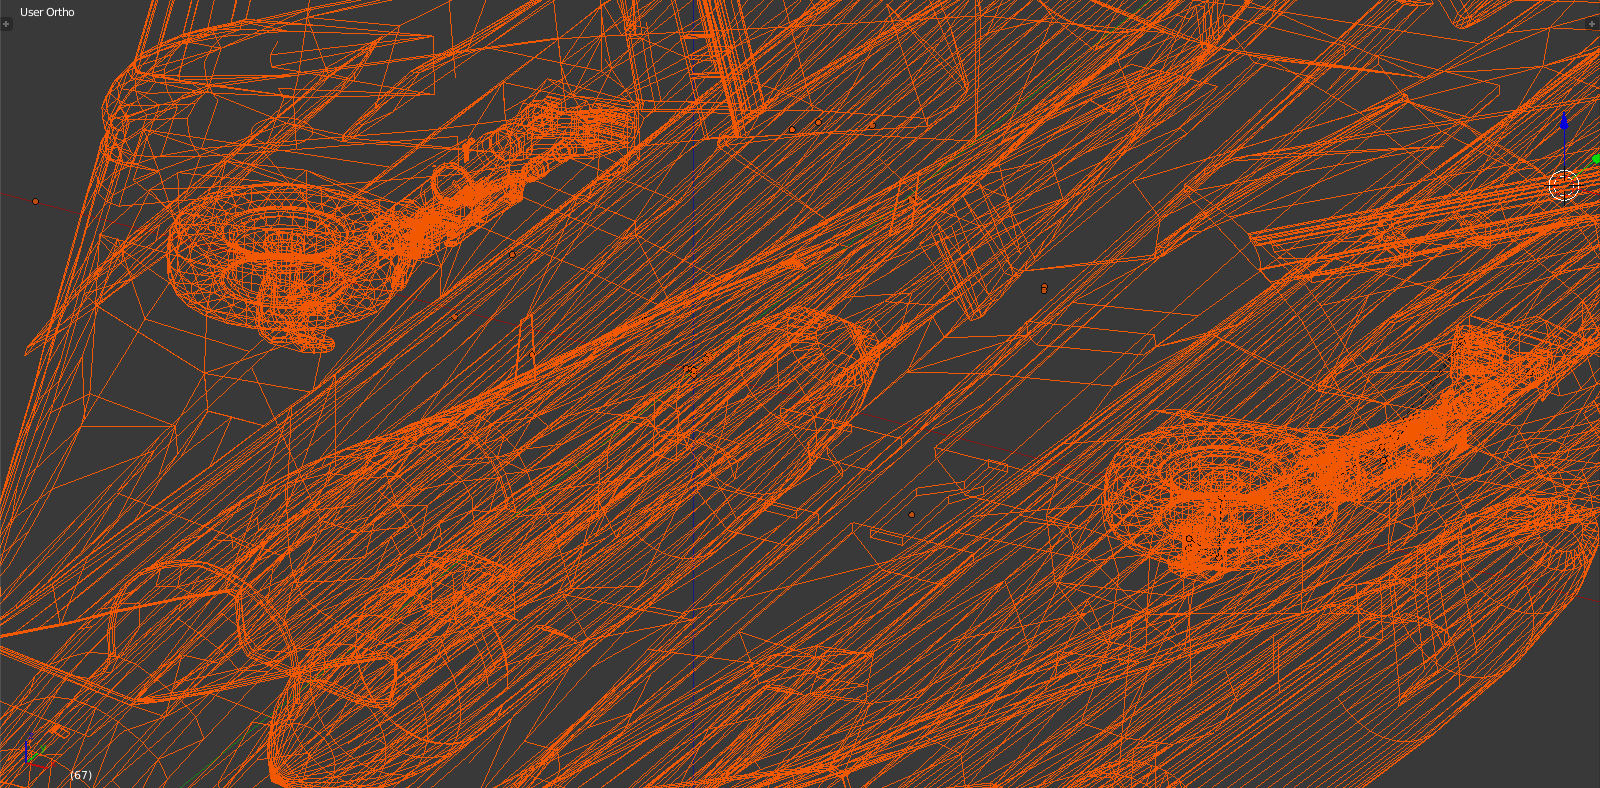
Enginepod:

That’s gotta be one of my favorite shots of this model ever!
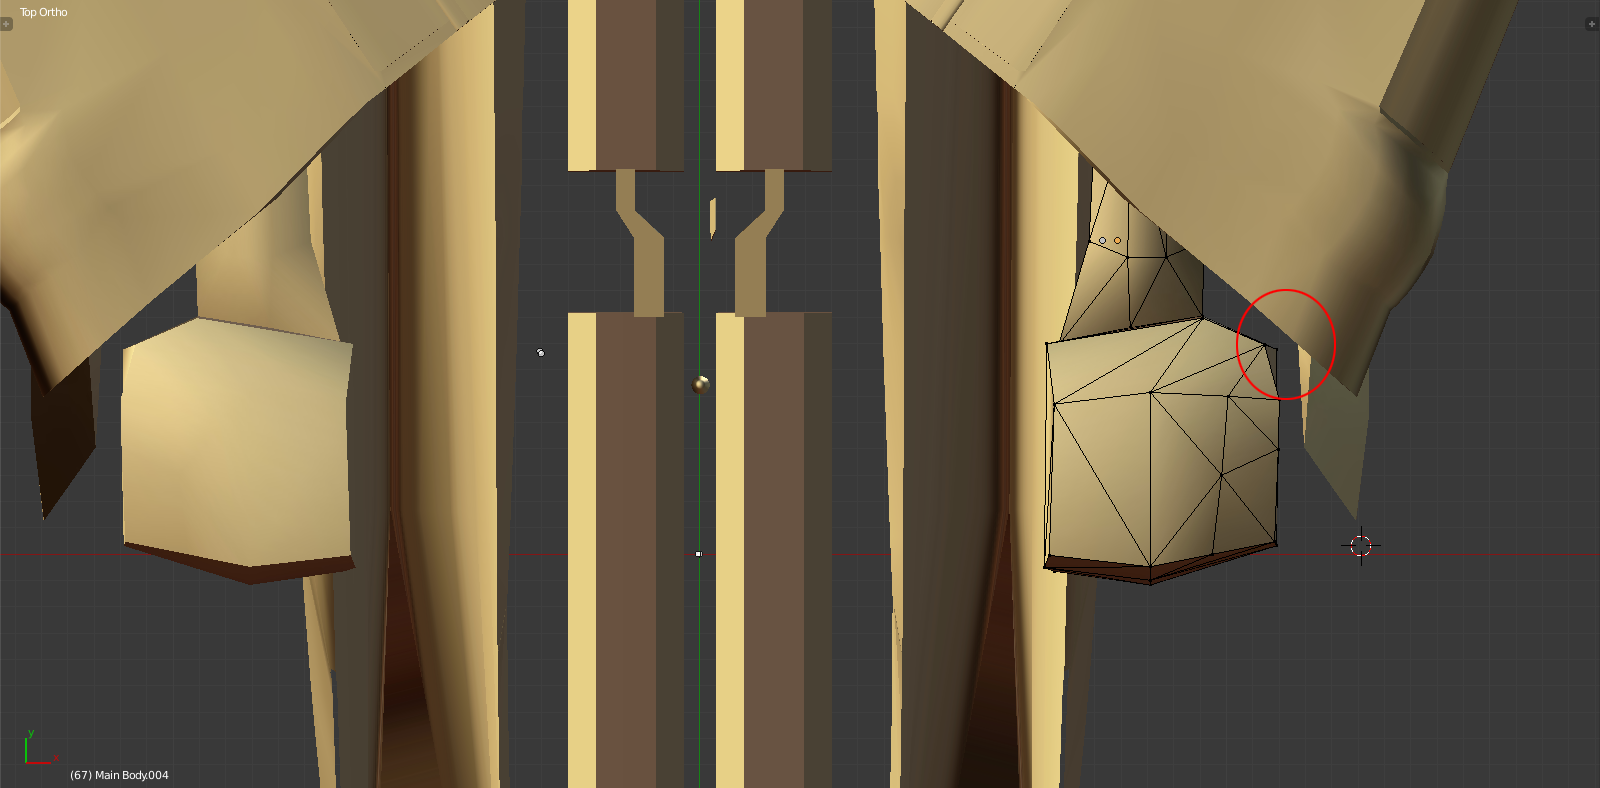
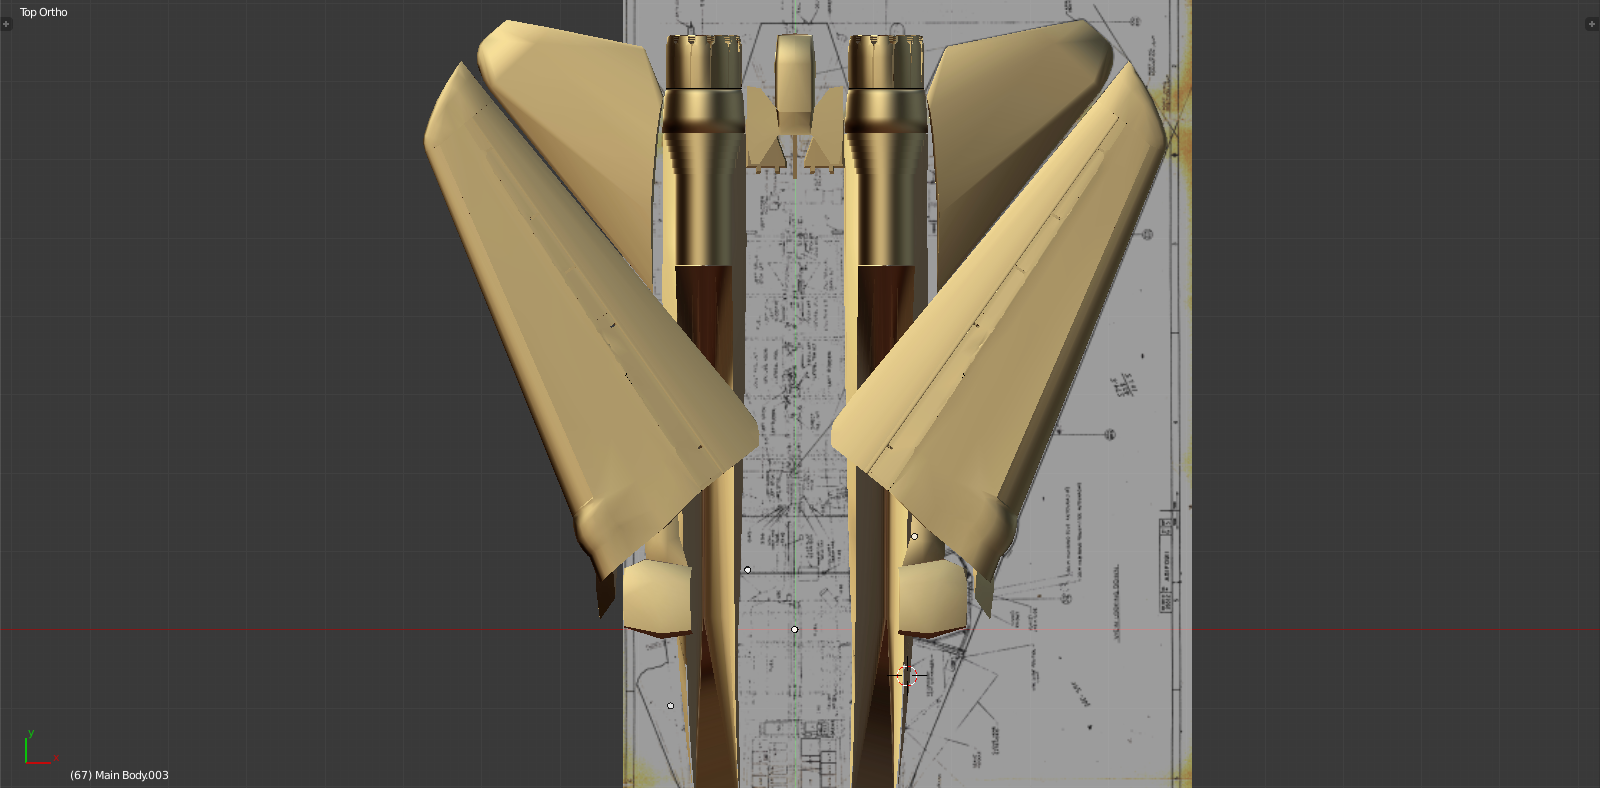
Now the weapon fairings:
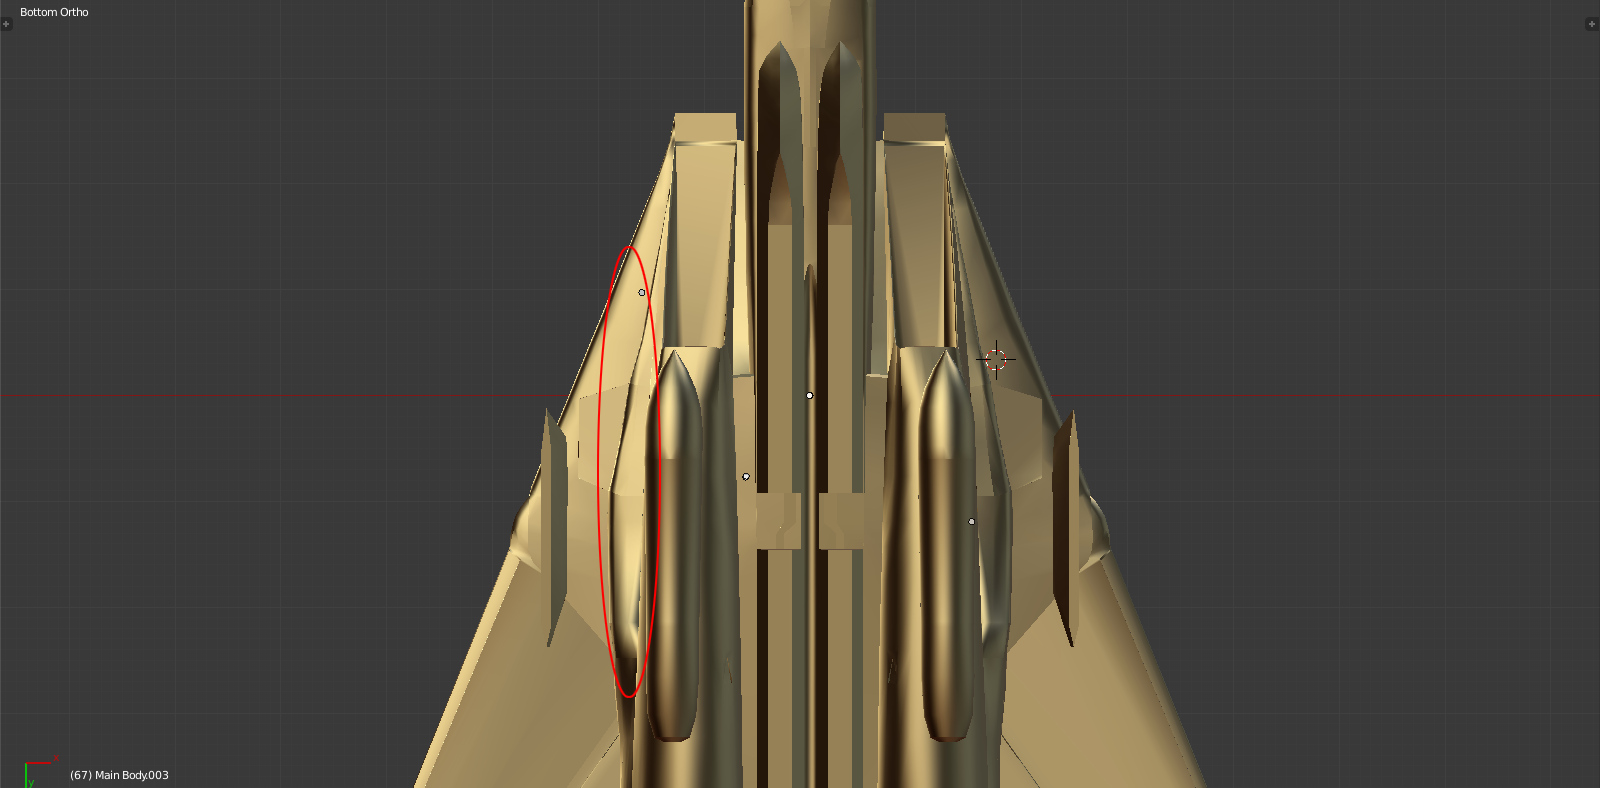
Also clear. Outlined is the ‘waist section’ of the fuselage housing the gear, this needs some fine tuning in the coming days now that it all fits together.
Some impressions:
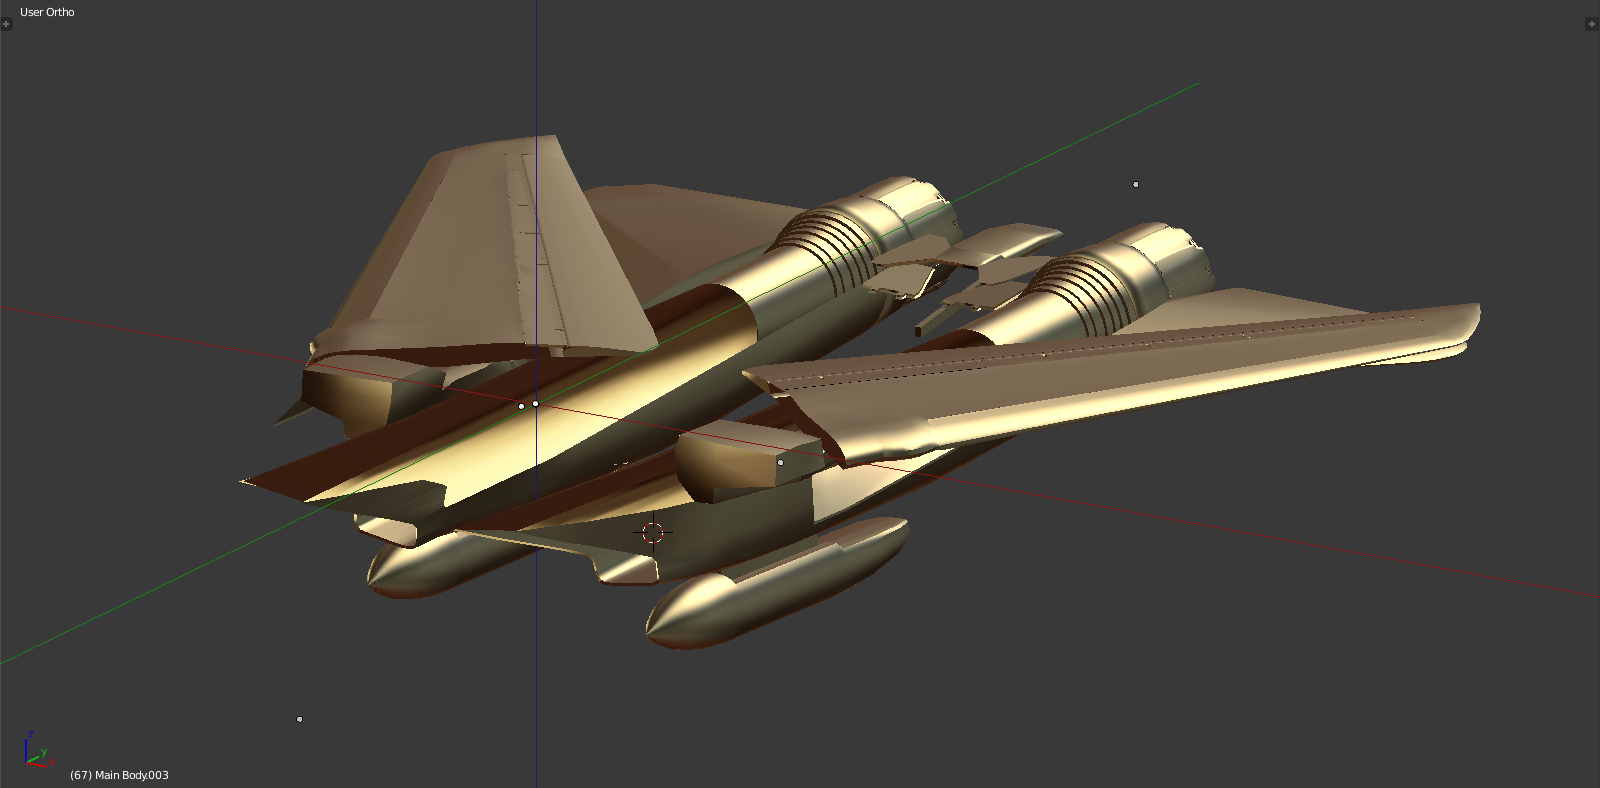

Delta Tomcat, Baby.
-
Impressive piece of artwork!!
-
Welcome back stingray.
Keep “on track” baby :p.
Nikos. -
That’s gotta be one of my favorite shots of this model ever!
Agreed.
Some beautiful work you are doing. You deserve a solid nob job.
-
I bet back in the days when Tomcat was in the works, Grumman would love to have you on board the design board…
Piece of work… man!!! Thanks for all your hard work!! -
Stunning work and commitment to detail!
-
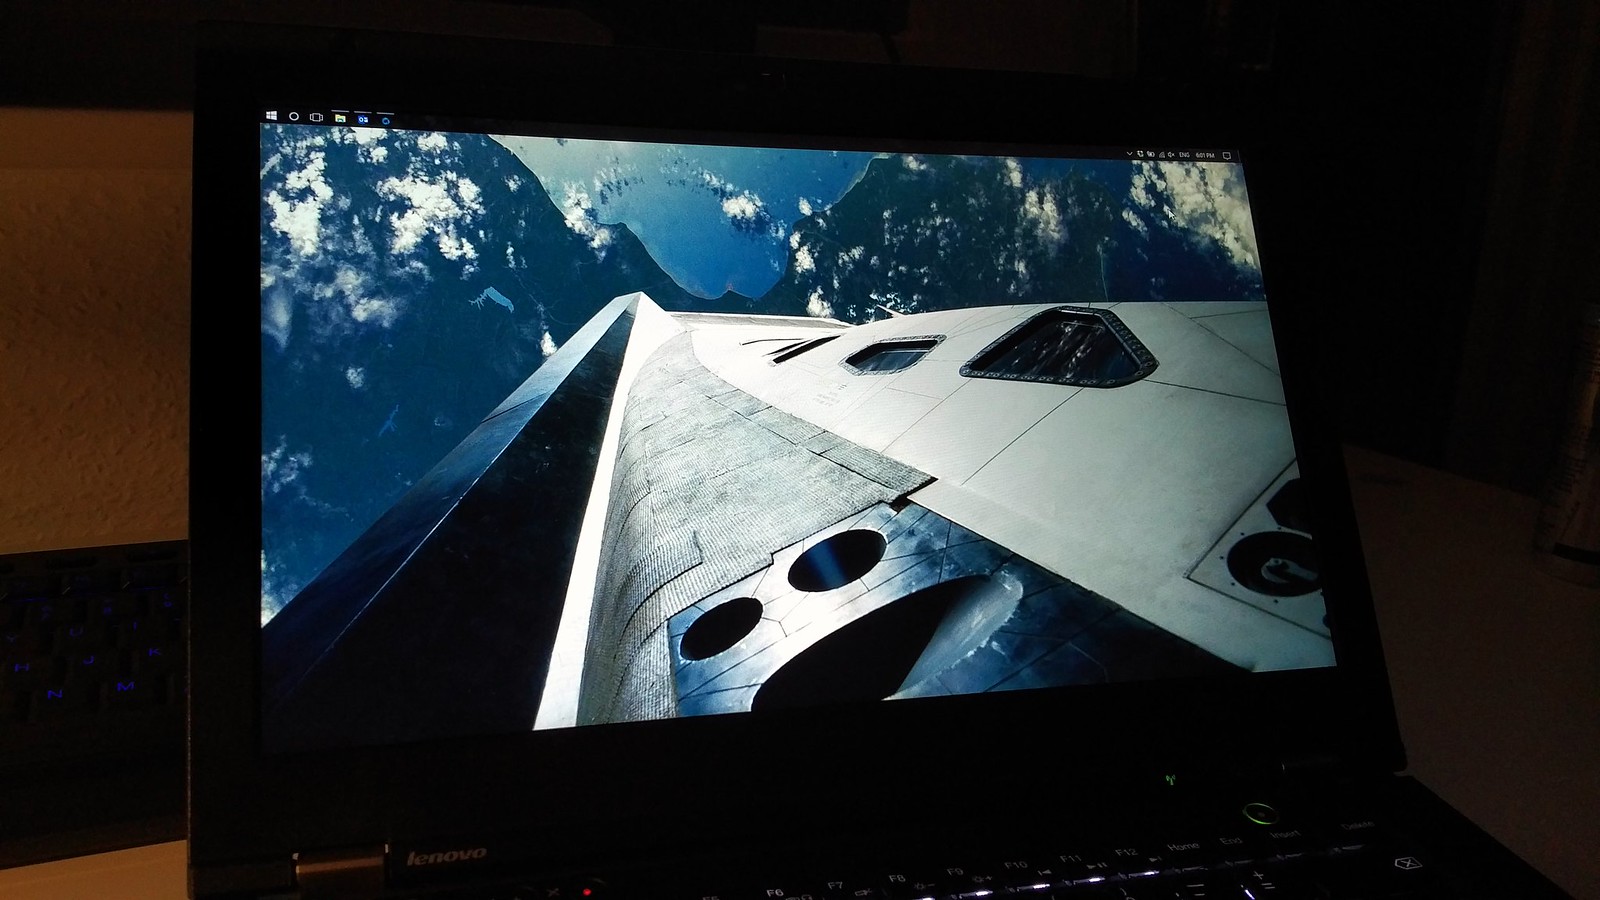
Thanks guys for all the comments - much appreciated! I swapped out the display on my Thinkpad for a full HD AUO panel. Since I usually work on this while on the train or plane the resolution helps a lot with workspace in 3D programs.
Here’s a taste of one of the few T430s on the planet with this screen

Currently working on the nose gear and fitting it into the fuselage, also started on the cockpit. Slowly getting there…update later today.
-
As usual it took a little while longer but less than 3-4 weeks
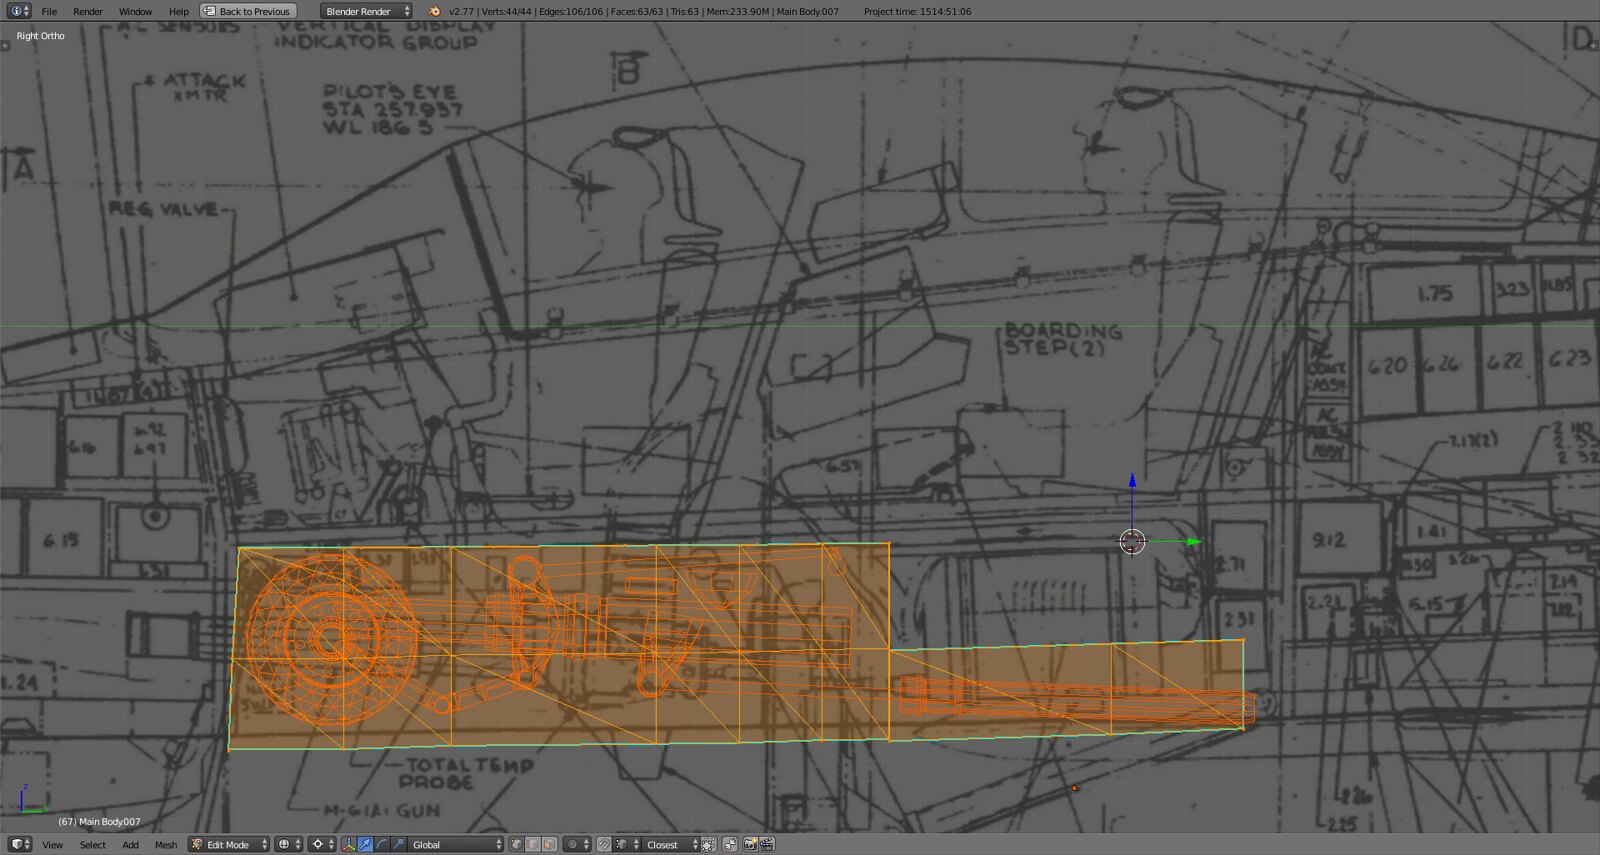
Nose gear in final proportion (details and mesh optimization still pending):
Landing light and signal box corrected, wheels put in correct size and distance with the help of a twisted pic:
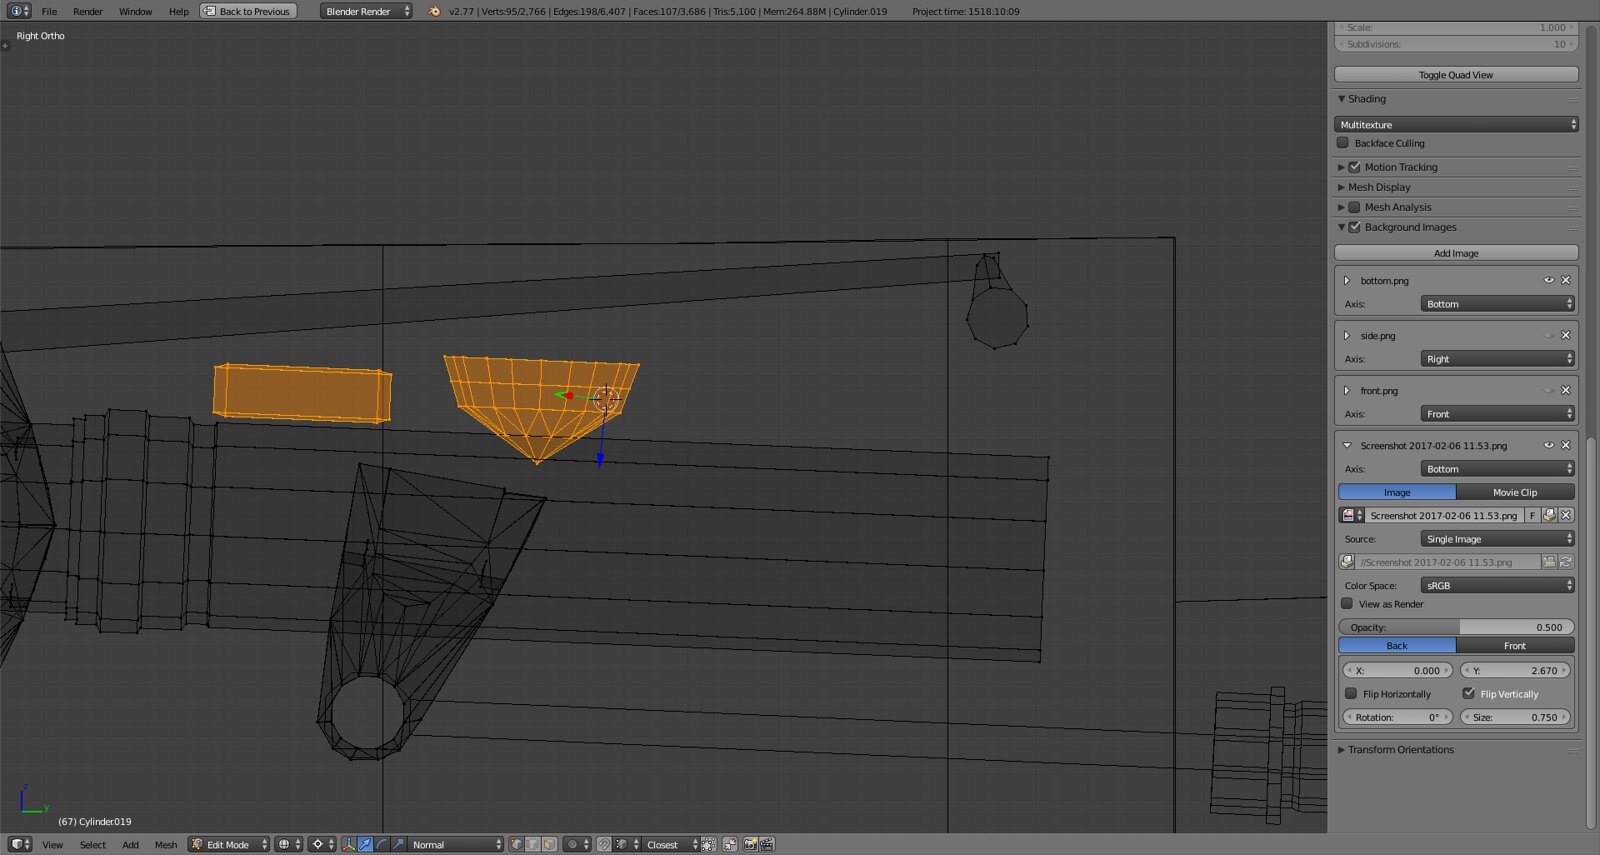
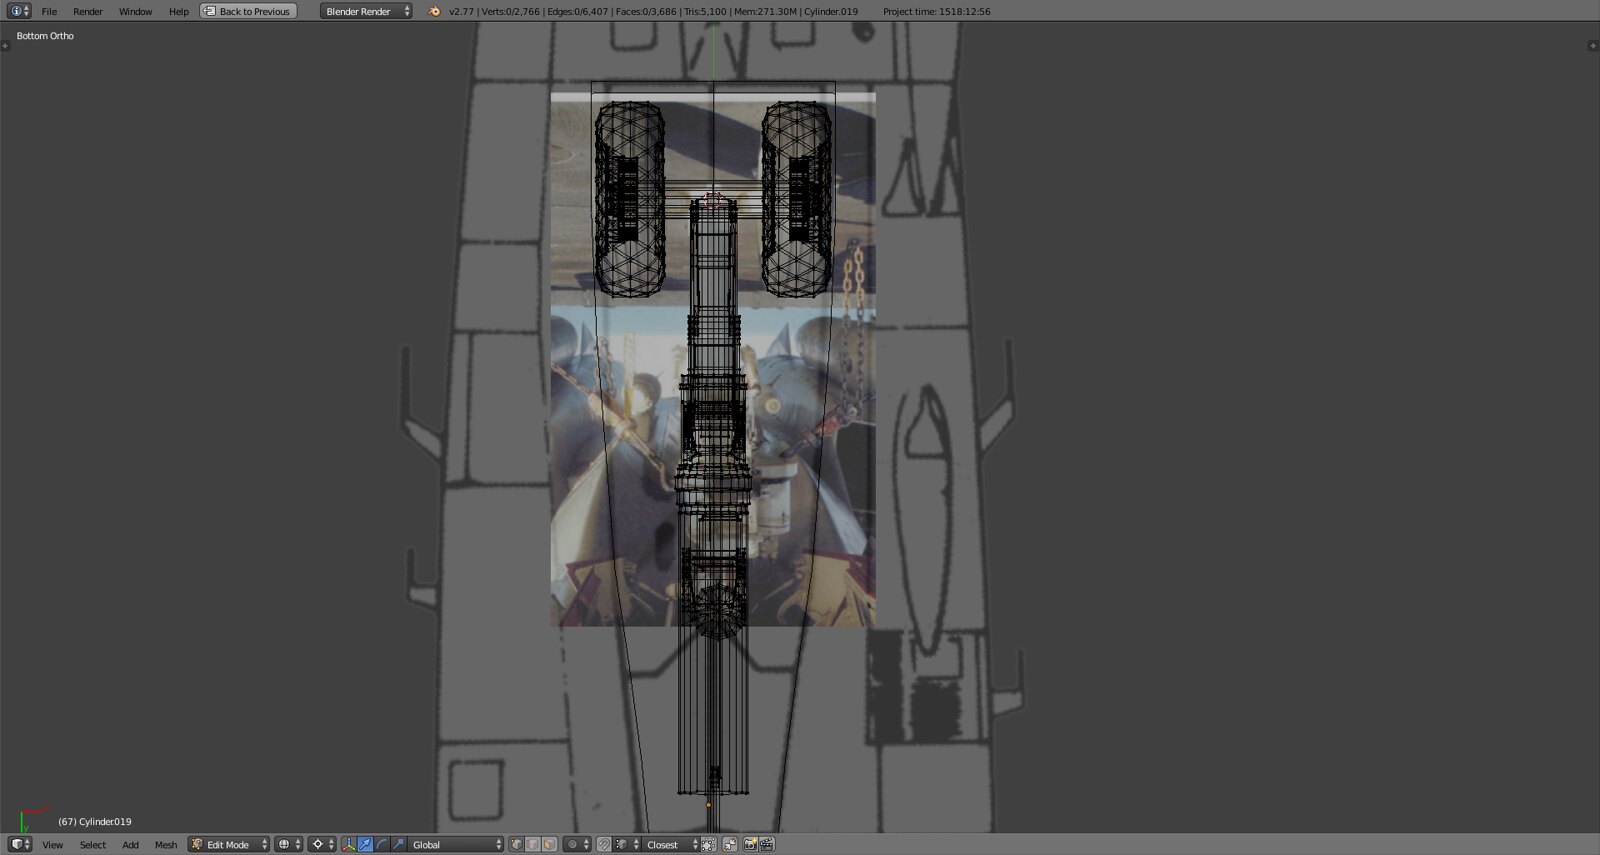
Even with the correction which resulted in a slightly widened fuselage opening and increasing total length it still fits an imperfect blueprint quite well:
Overall less adaptation needed in contrast to the main landing gear:

Total tris for landing gear is at 17k tris, reduction to less than 13k without losing too much detail is unlikely:
Here you can see the difference to my original shape:
Finally corrected the height of the nose gear compartment:
Still need to shorten the main compartment and the main strut a bit to align with the print. You can guess what’s next by looking at the blueprint :).
-
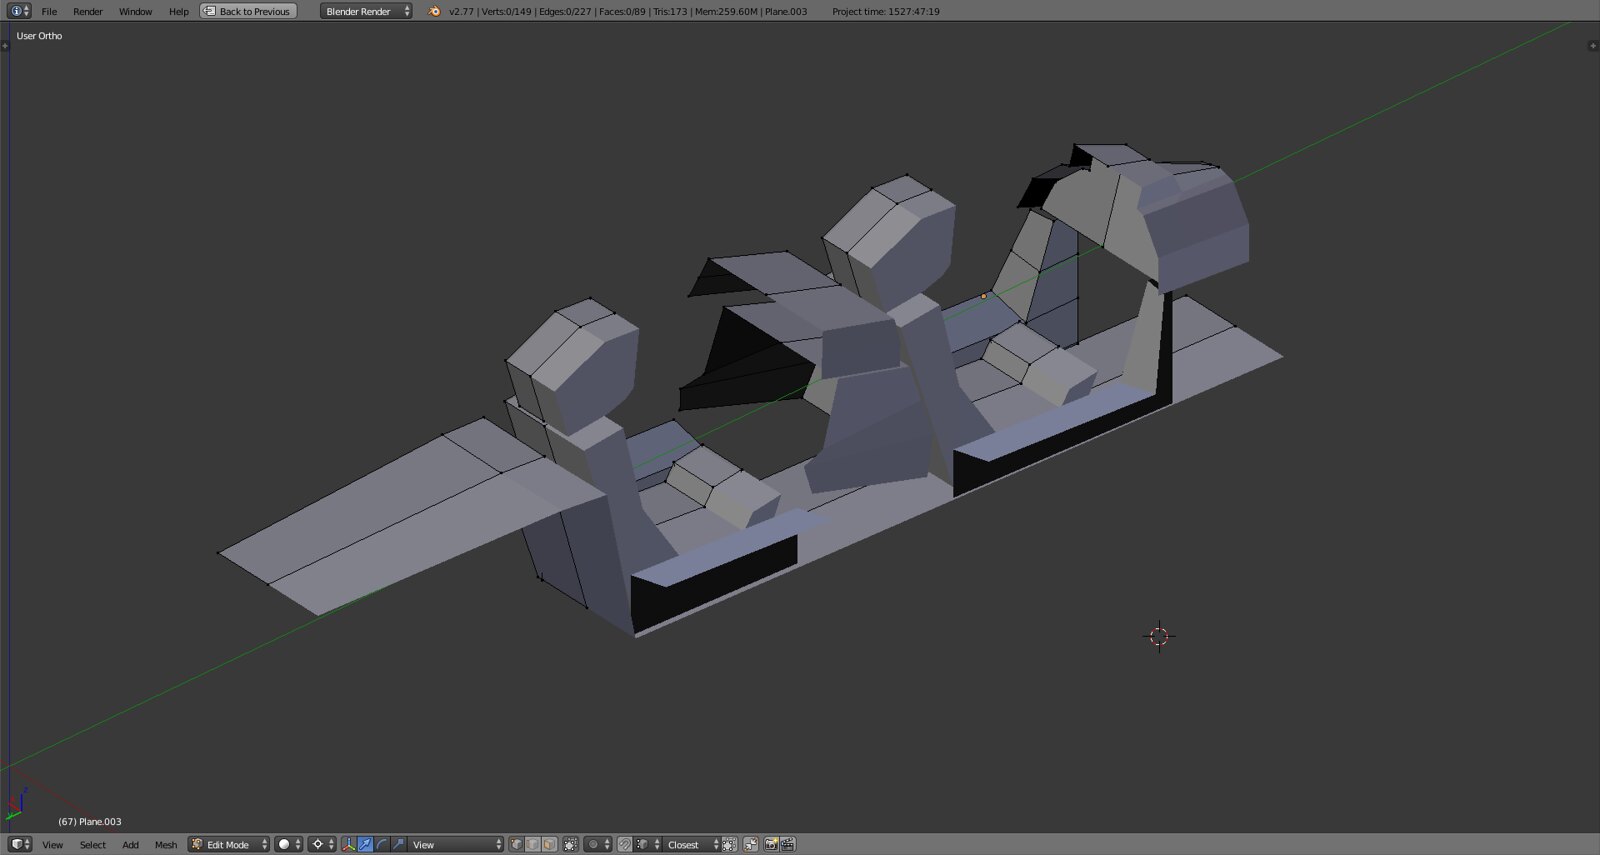
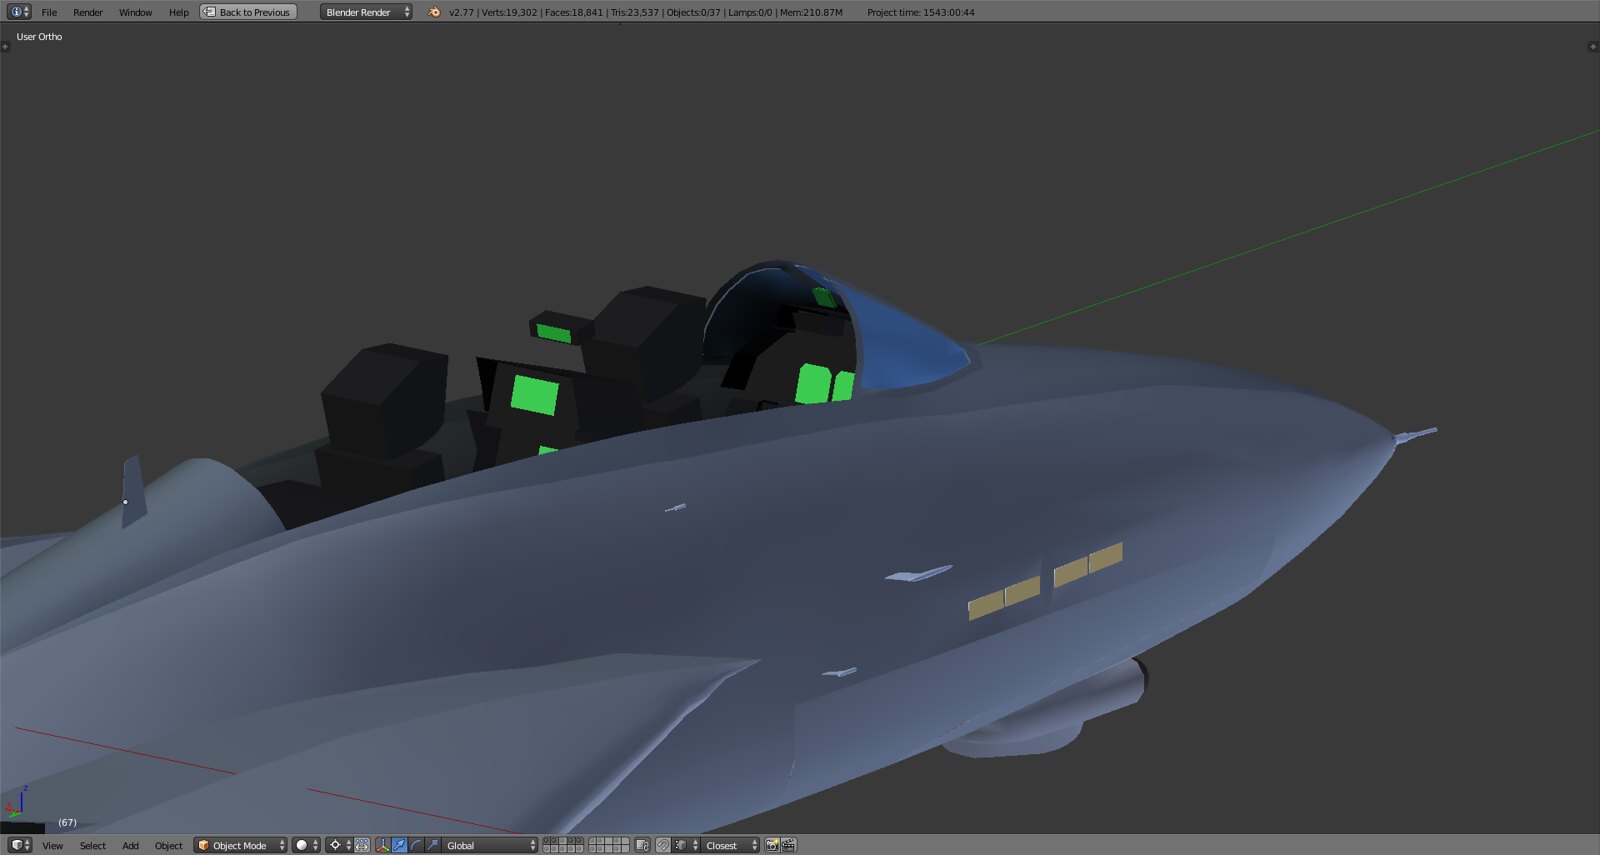
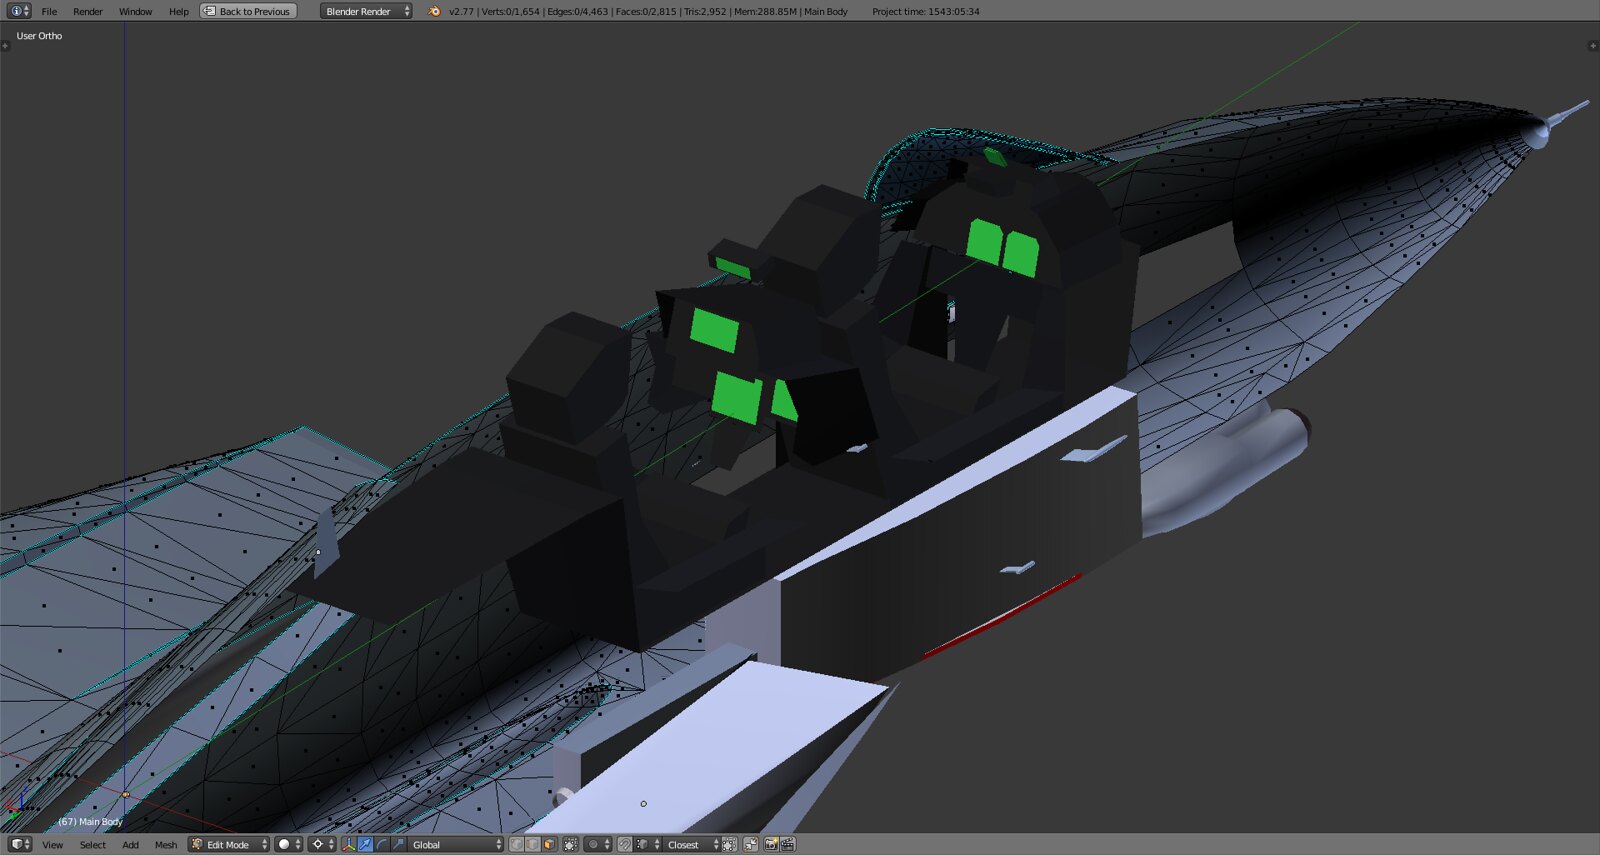
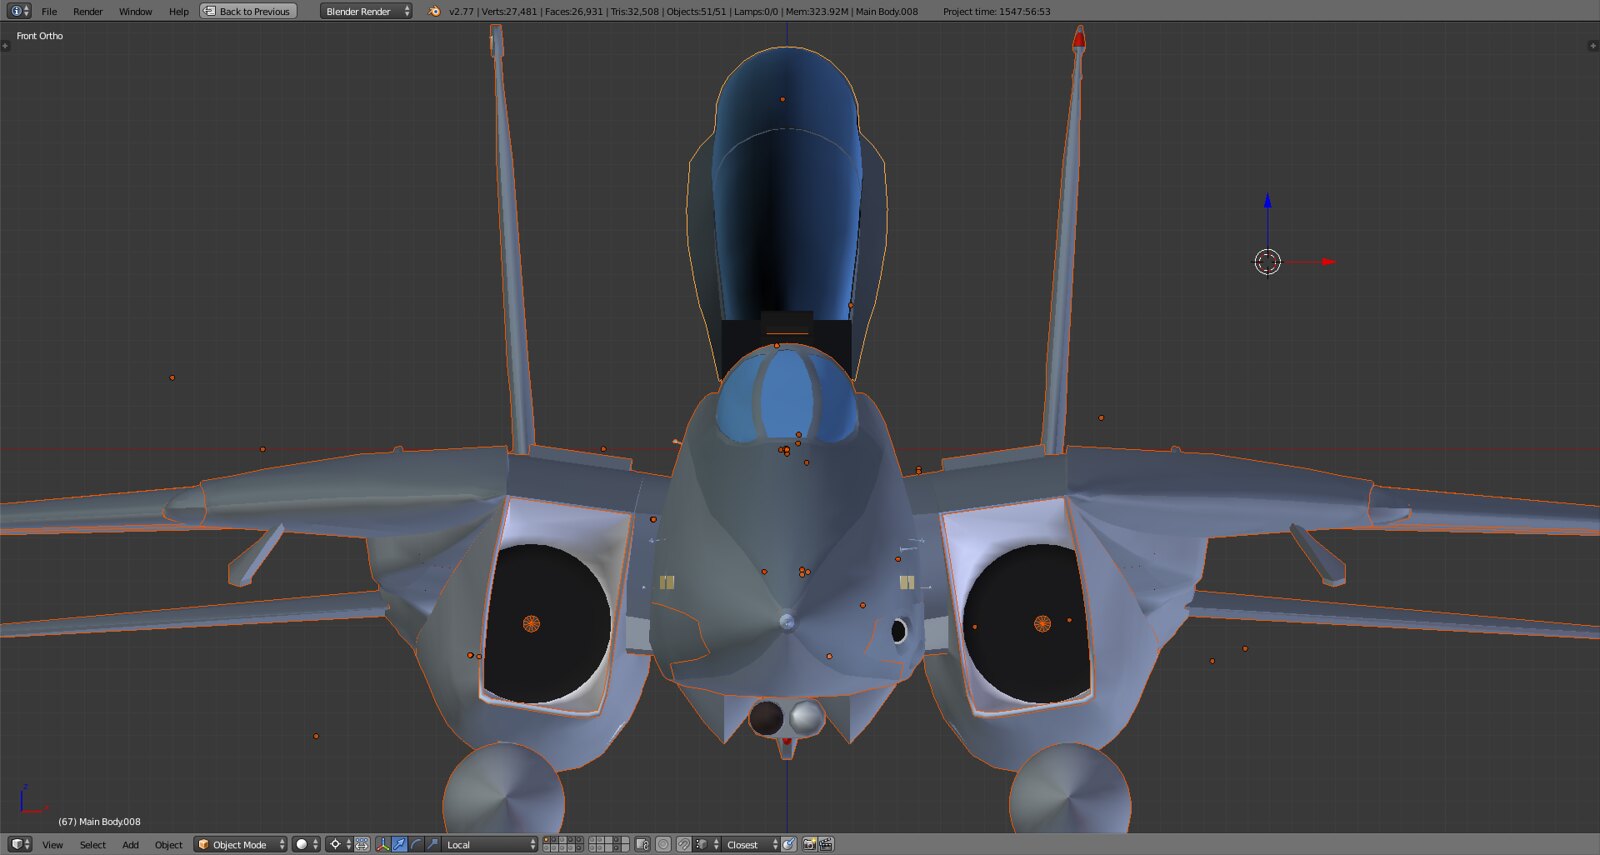
Some more progress on the pit. Once I got the Rio panel shape figured out I’ll separate the canopy from the fuselage and integrate it. As you can see from the shape it’s already adapted to the fuselage body and will not collide with the nose gear compartment. Connecting it to the canopy side rails and windshield frame will be the tricky stuff. How much detail will be added? Not much more, the sticks and some ejection seat additions plus some cables and details that you will see from the outside through the canopy and that’s it. Planning to keep it below 1000 tris.
Standalone:
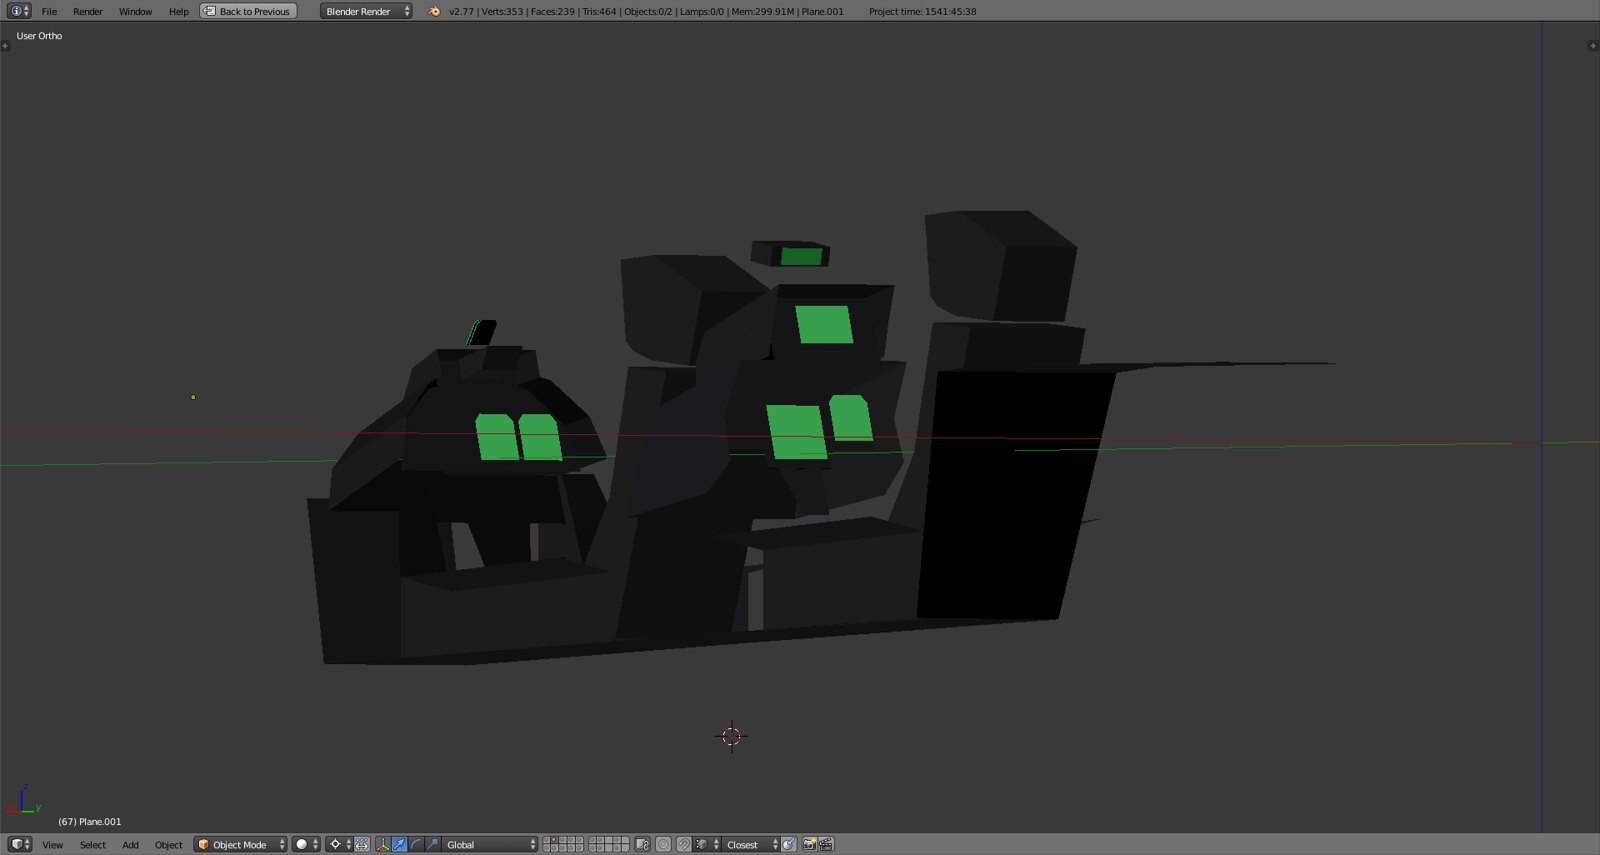
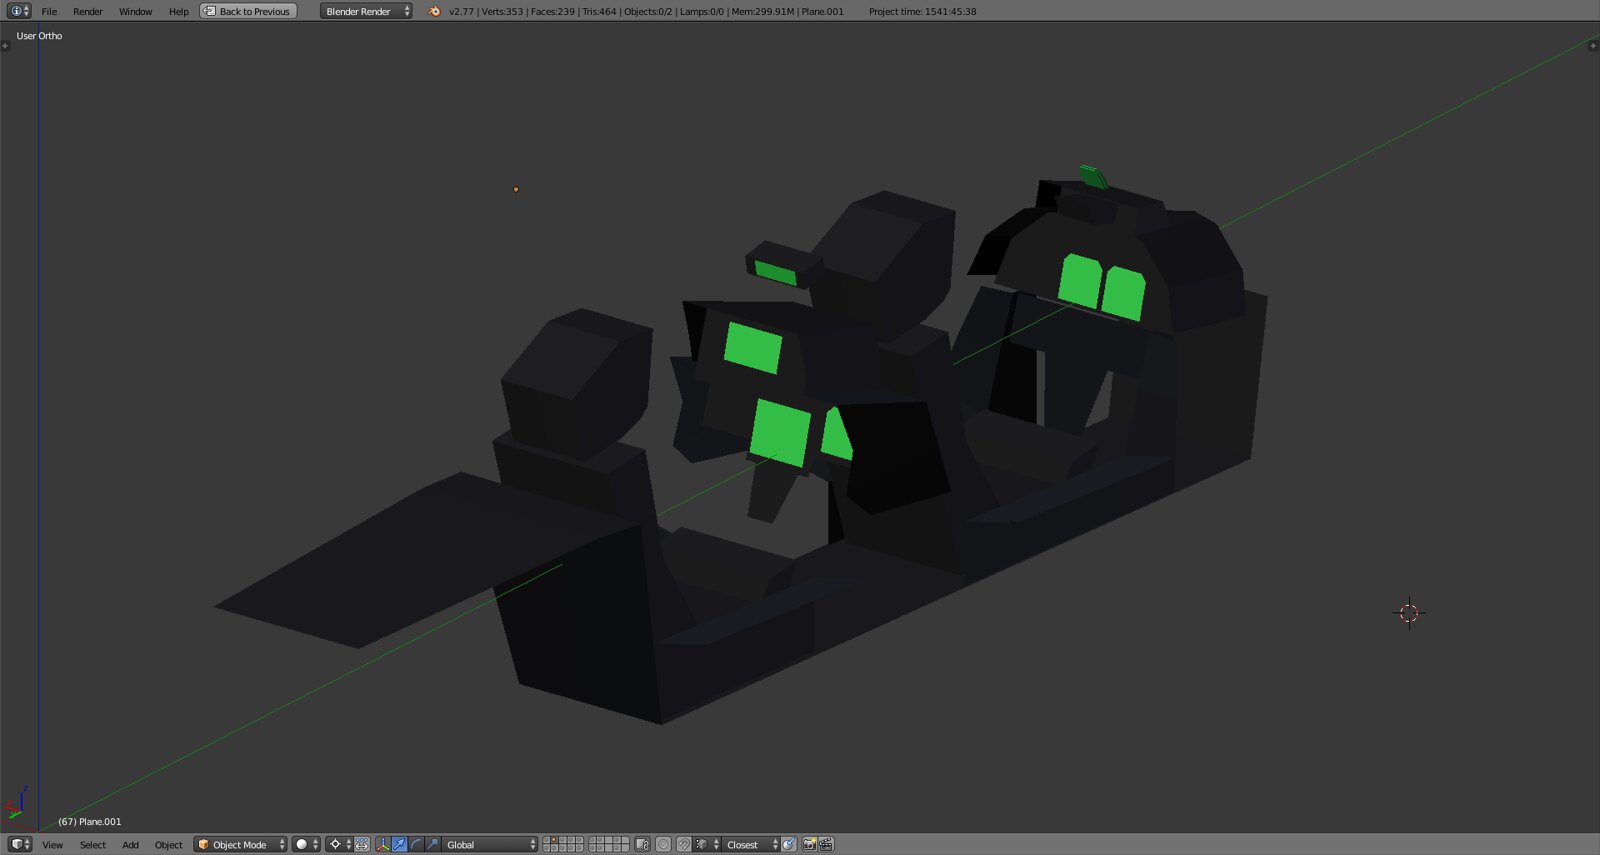
Slowly filled with life
-
You 3D modellers make it look so easy!
Harry (Formerly Amraam at Frugals etc.)

(I'm not currently active with ViperDrivers, but these guys are the best BMS school out there!)
-
-
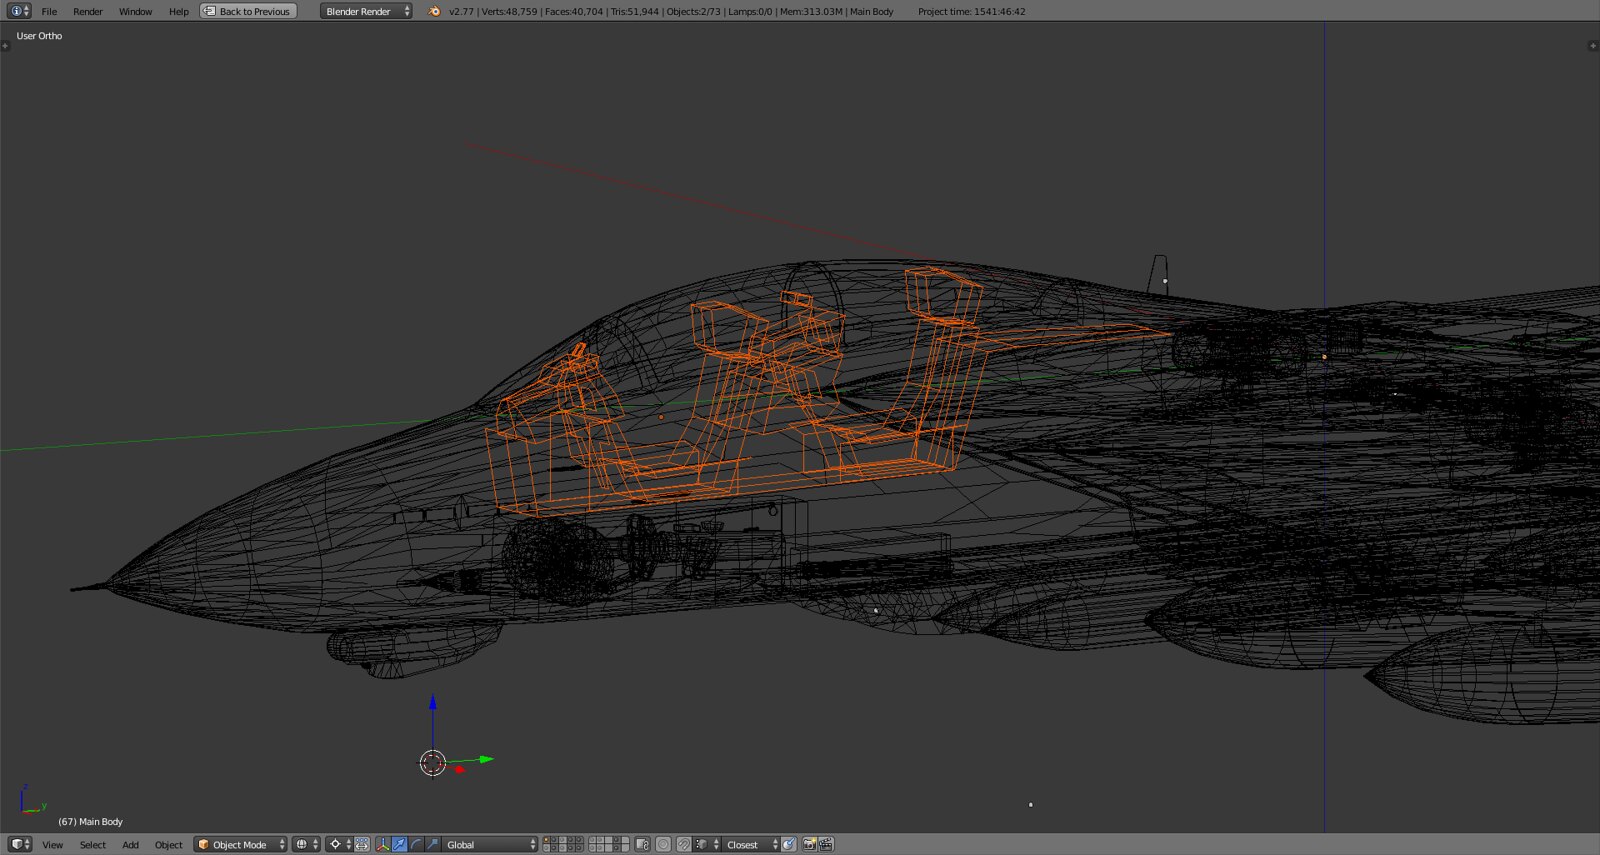
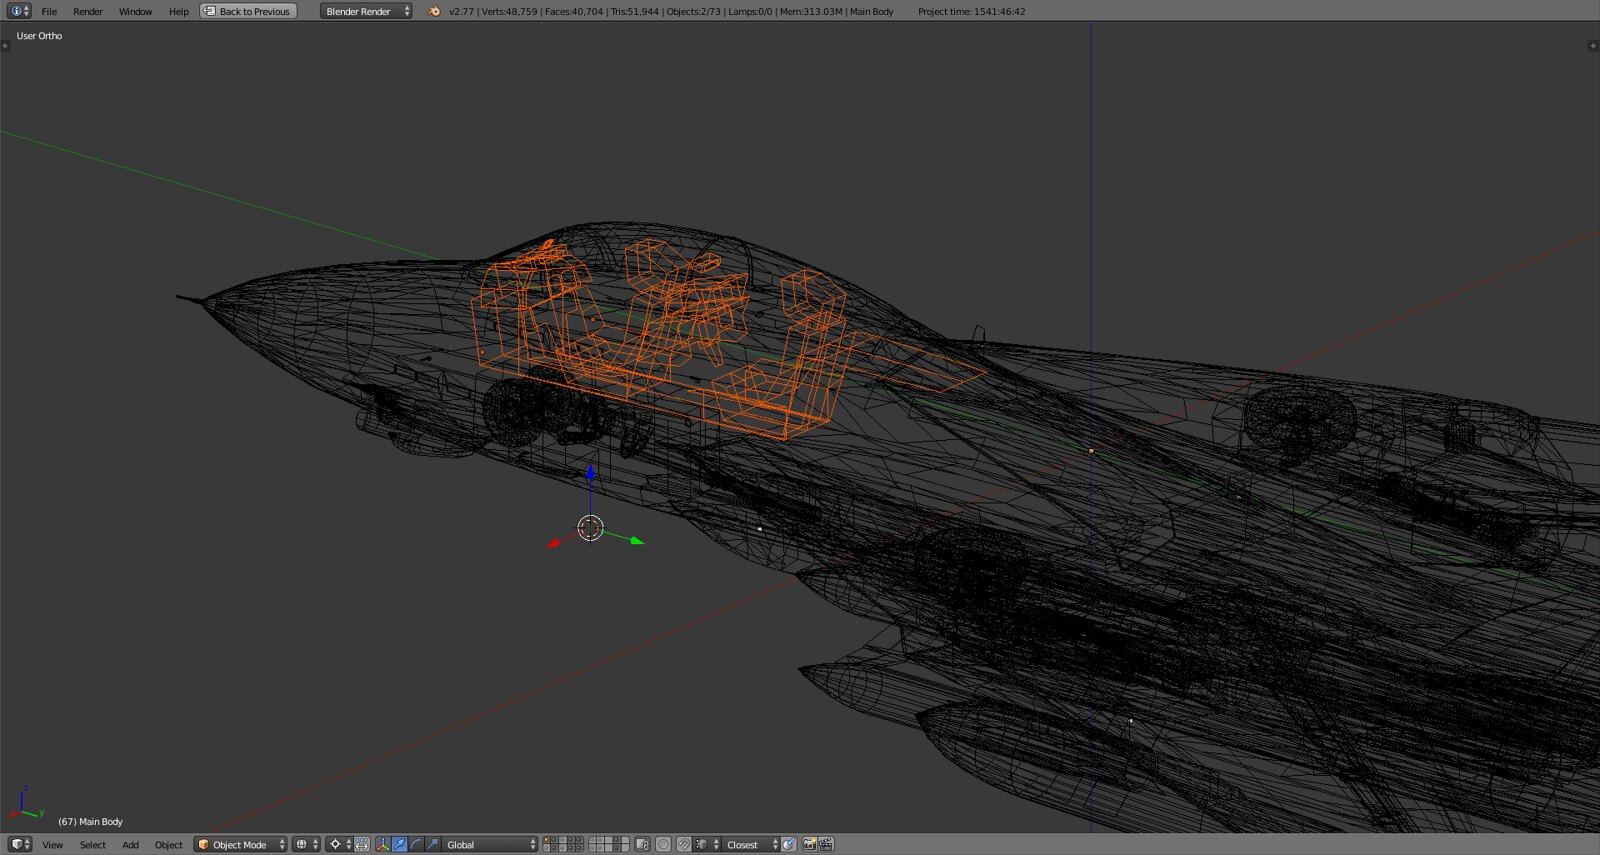
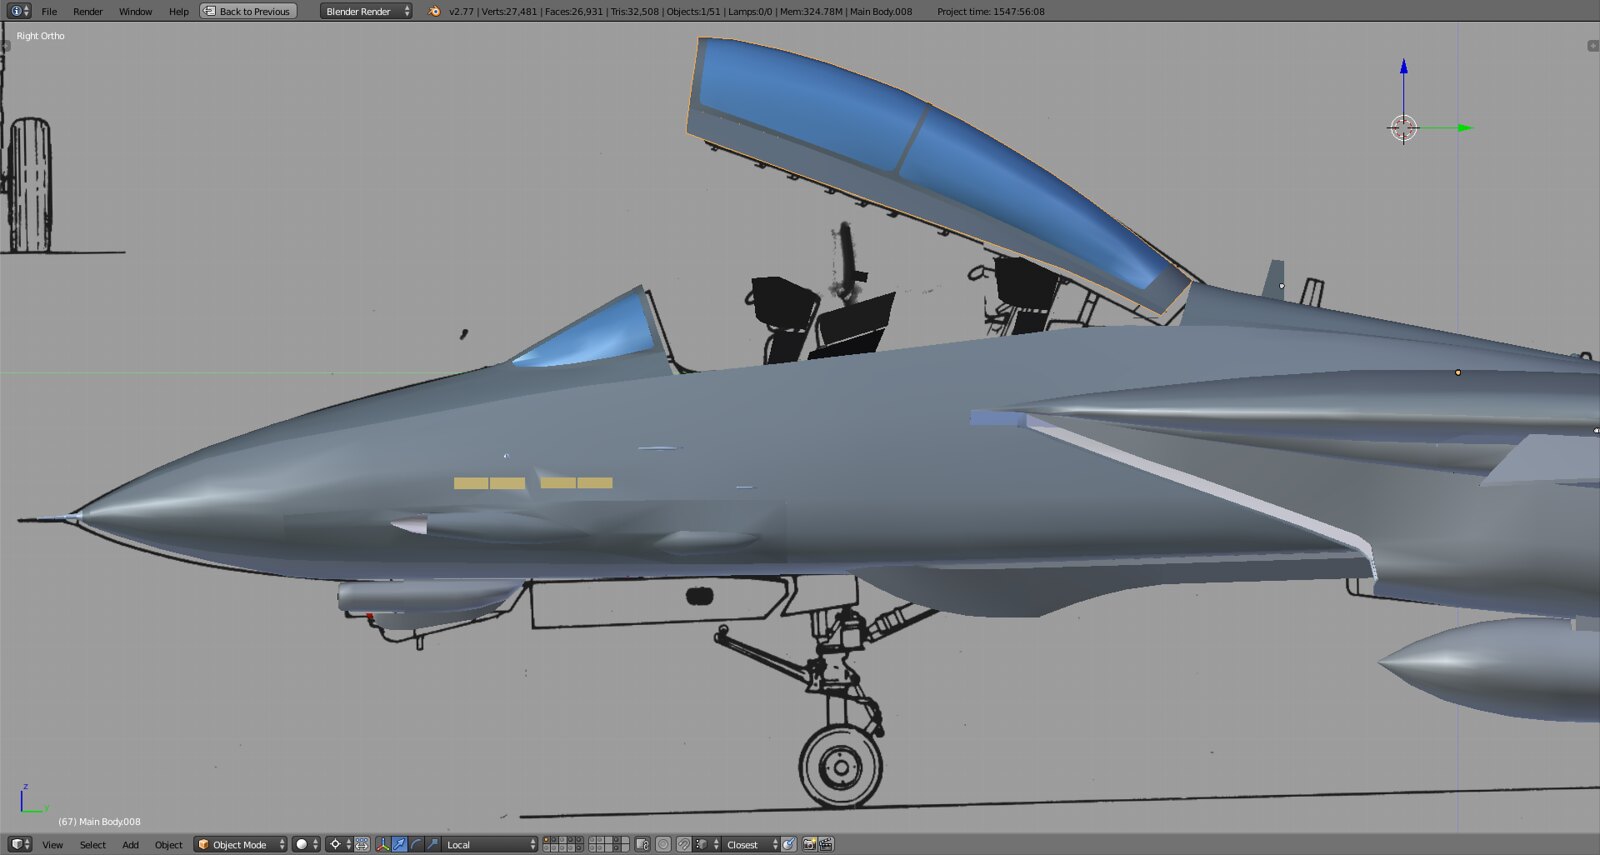
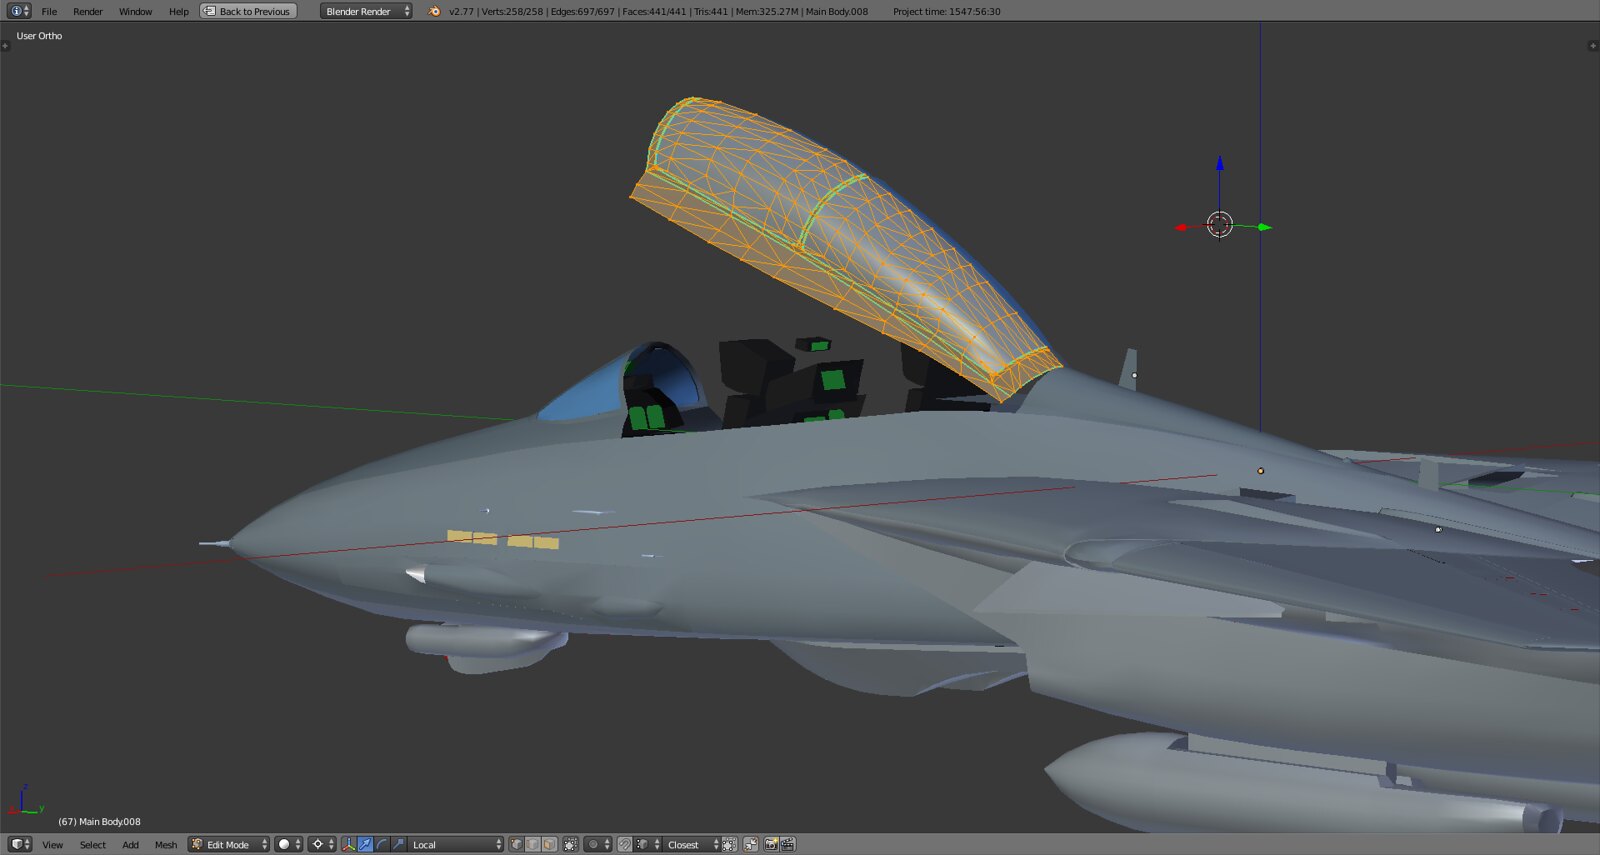
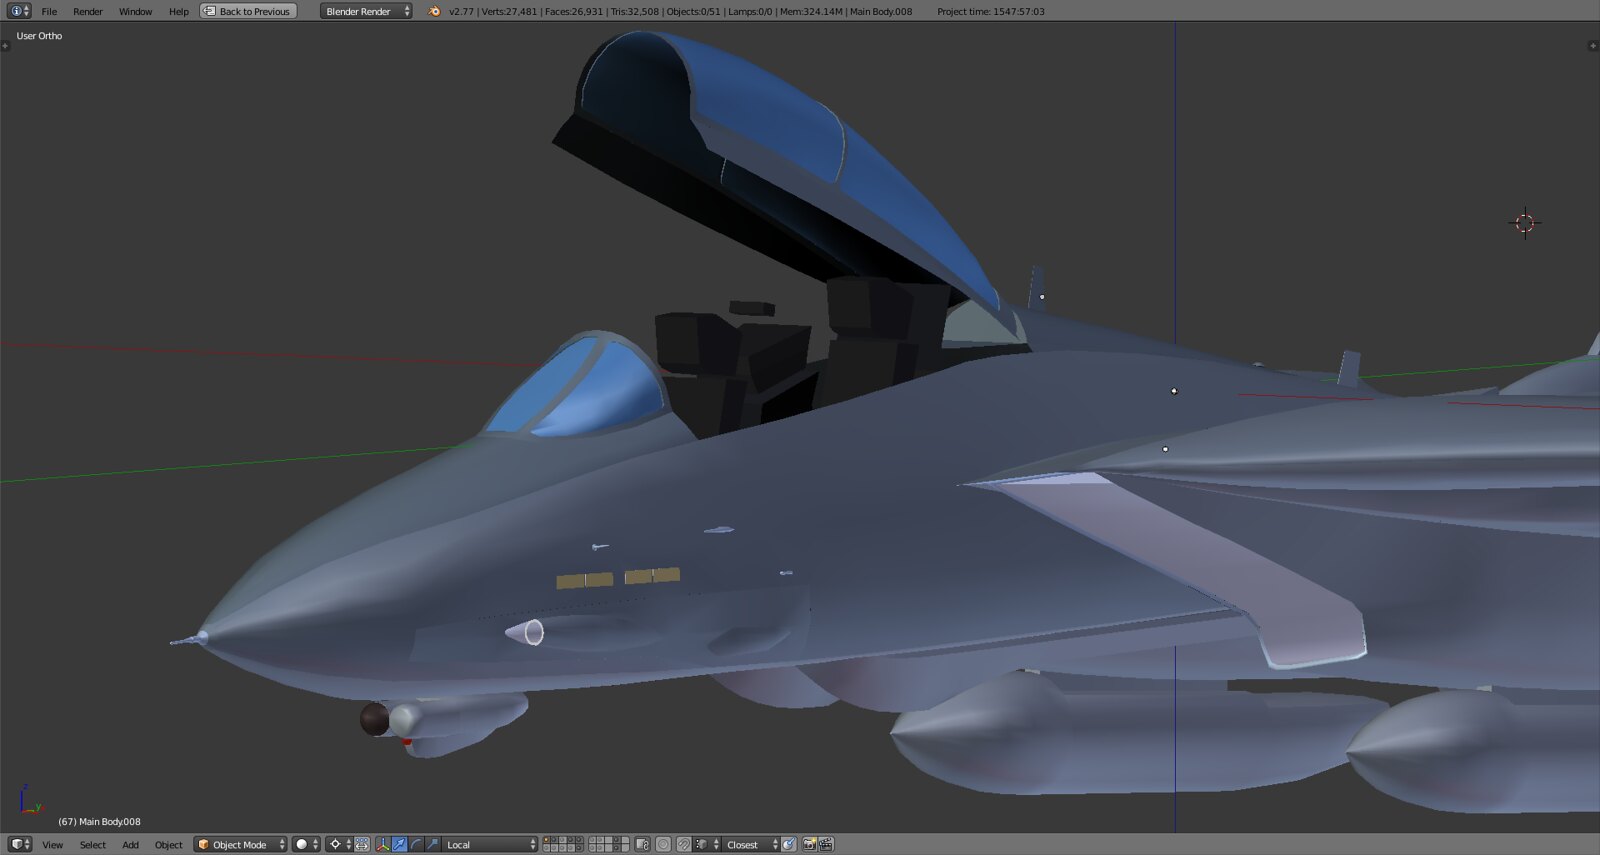
Pit fits pretty well as expected. Now got a separate and moving canopy. Still have to model the canopy hinges. Ejection seat position and proportion is fine, consoles and stuff need adjustment.
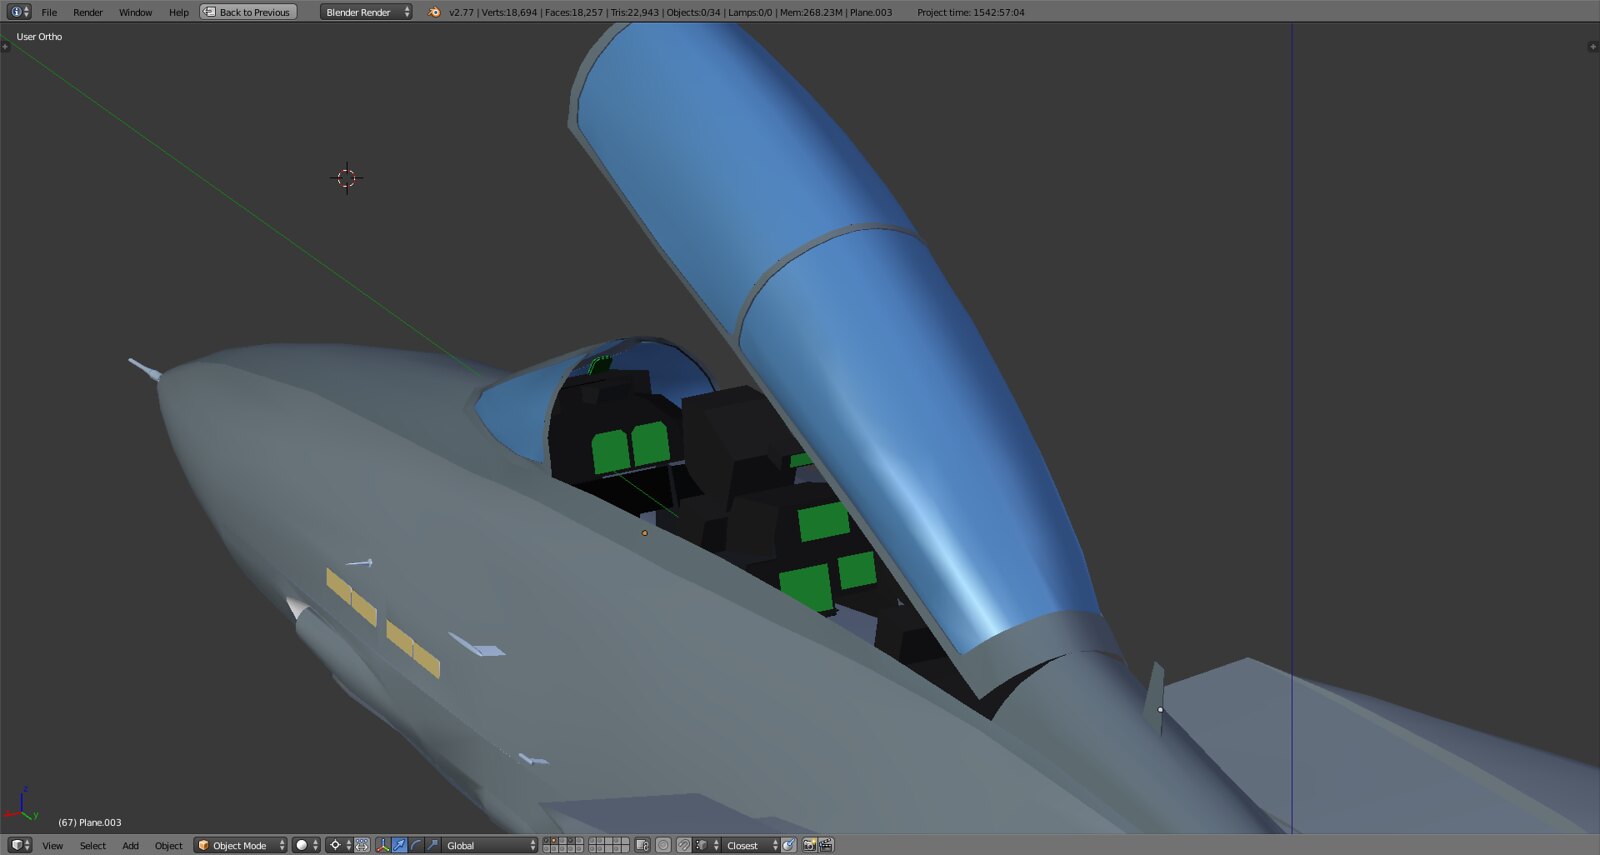
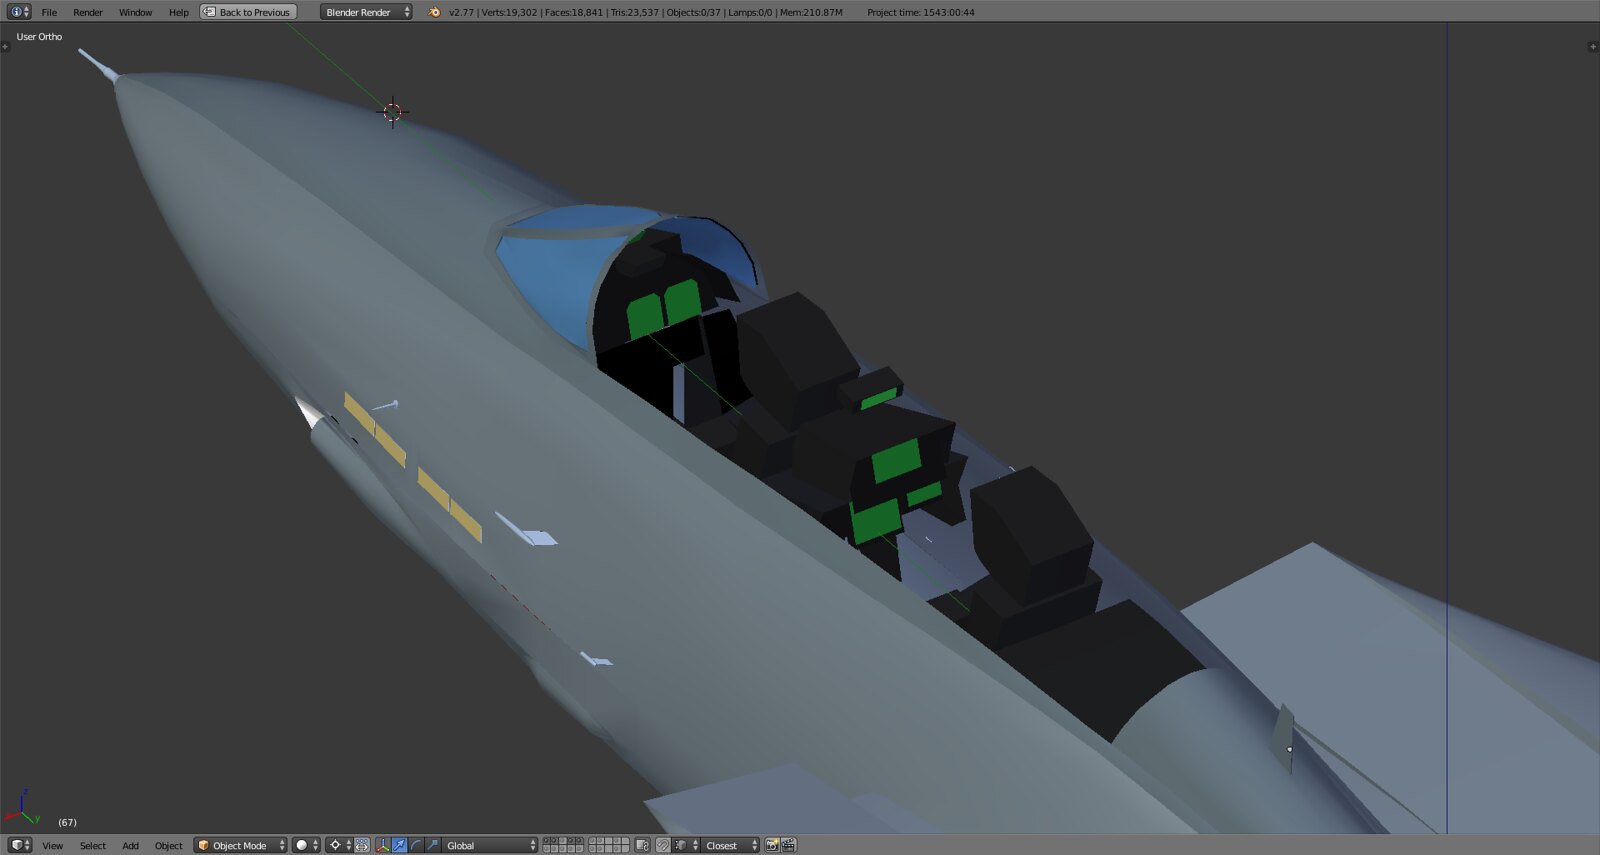
Now on to fitting it to the AC, especially in the area of canopy rails and windshield frame it will be shall we say ‘interesting’ :).
-
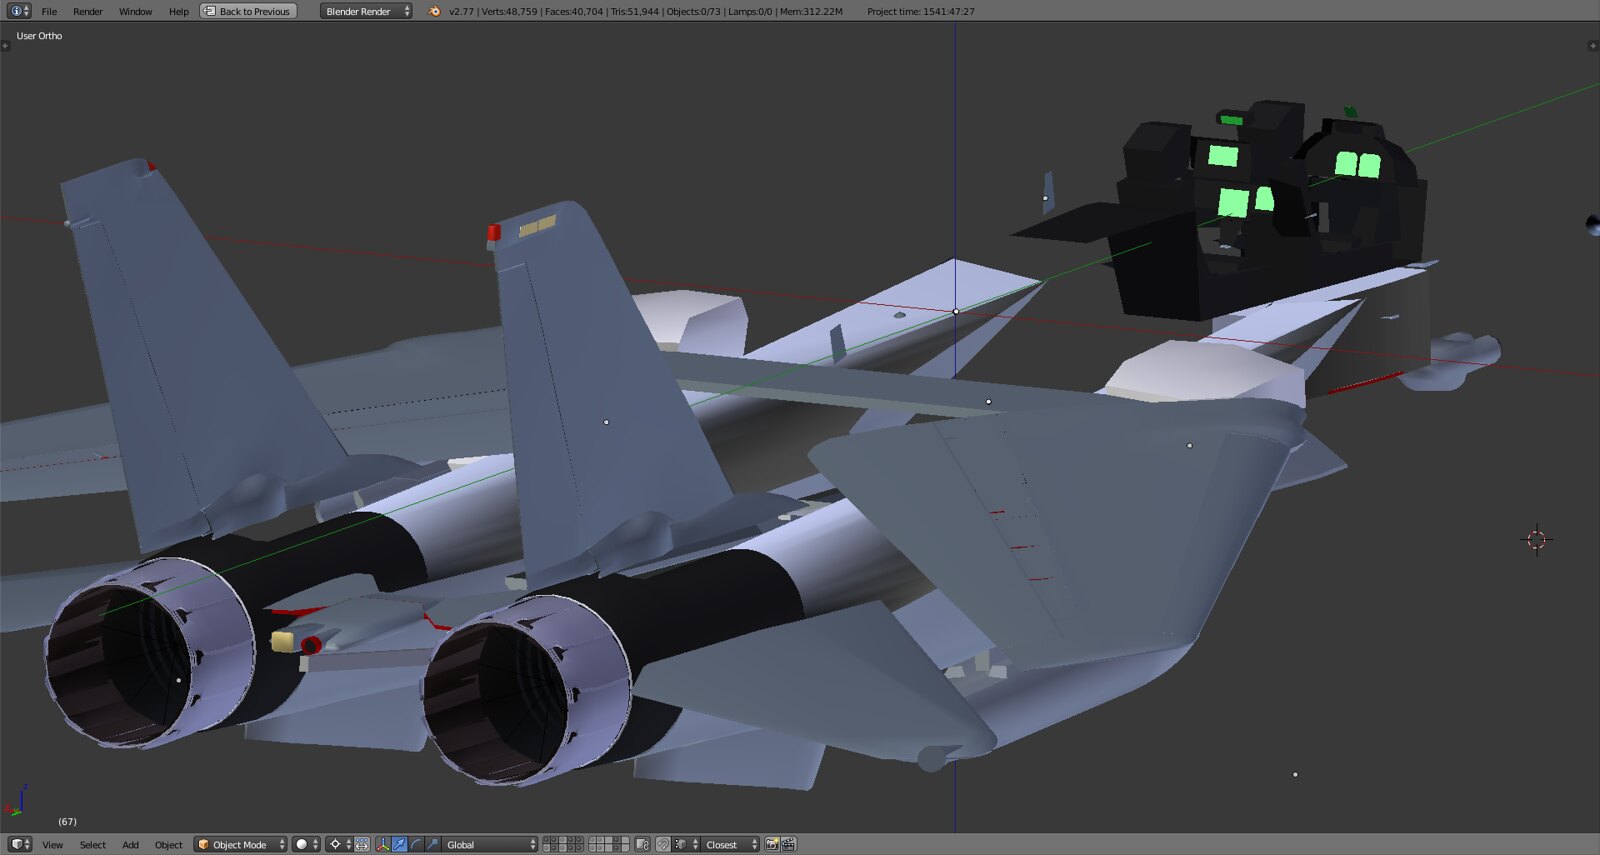
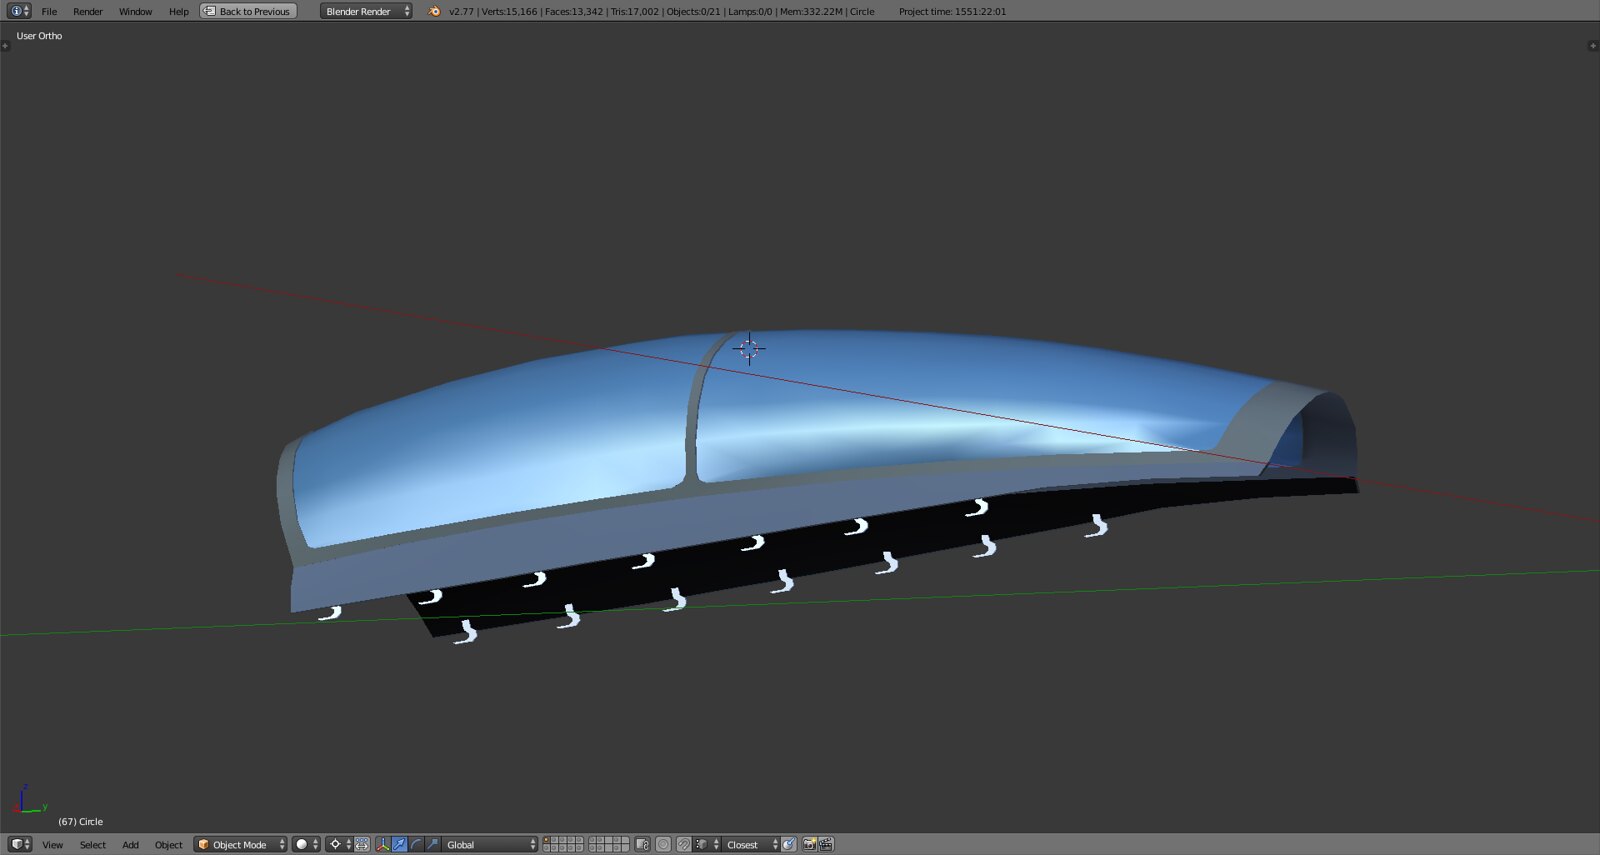
The dilemma of staying away for too long…you end up just forgetting about canopy rails…ON THE CANOPY. Pretty sure sooner or later someone woulda noticed that. So here goes preemptively:
Looks like now the crew can actually embark!
Time for some hooks and mirrors!
-
And don’t forget the refueling probe !!!
Outstanding work mate, as usual
")
-
And don’t forget the refueling probe !!!
Outstanding work mate, as usual
Seriously, if you didn’t keep reminding me I’d actually forget about it:)
Sent from my STV100-4 using Tapatalk
-
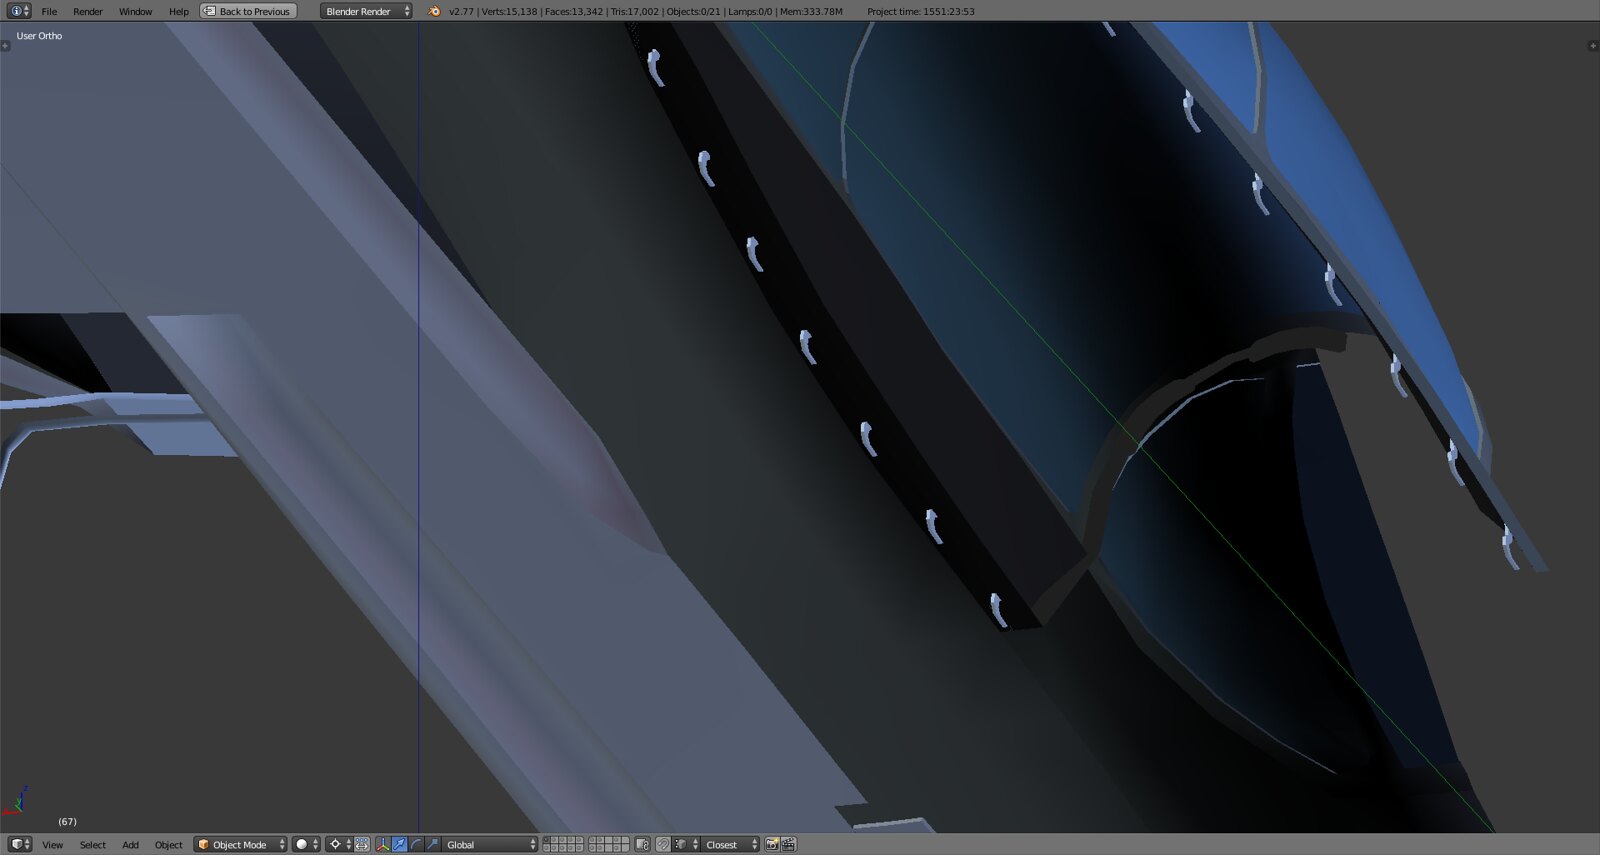
Love me some hooks! And mirrors, well actualy just alck angulated planes but who cares.
Hooks also align and sink nicely into the fuselage rail for the canopy. Not sure yet how exactly the shape flows from the edge down to the panels and floor. If all fails I’ll throw in the A/C tubes and do a 2 way rounded inside wall.
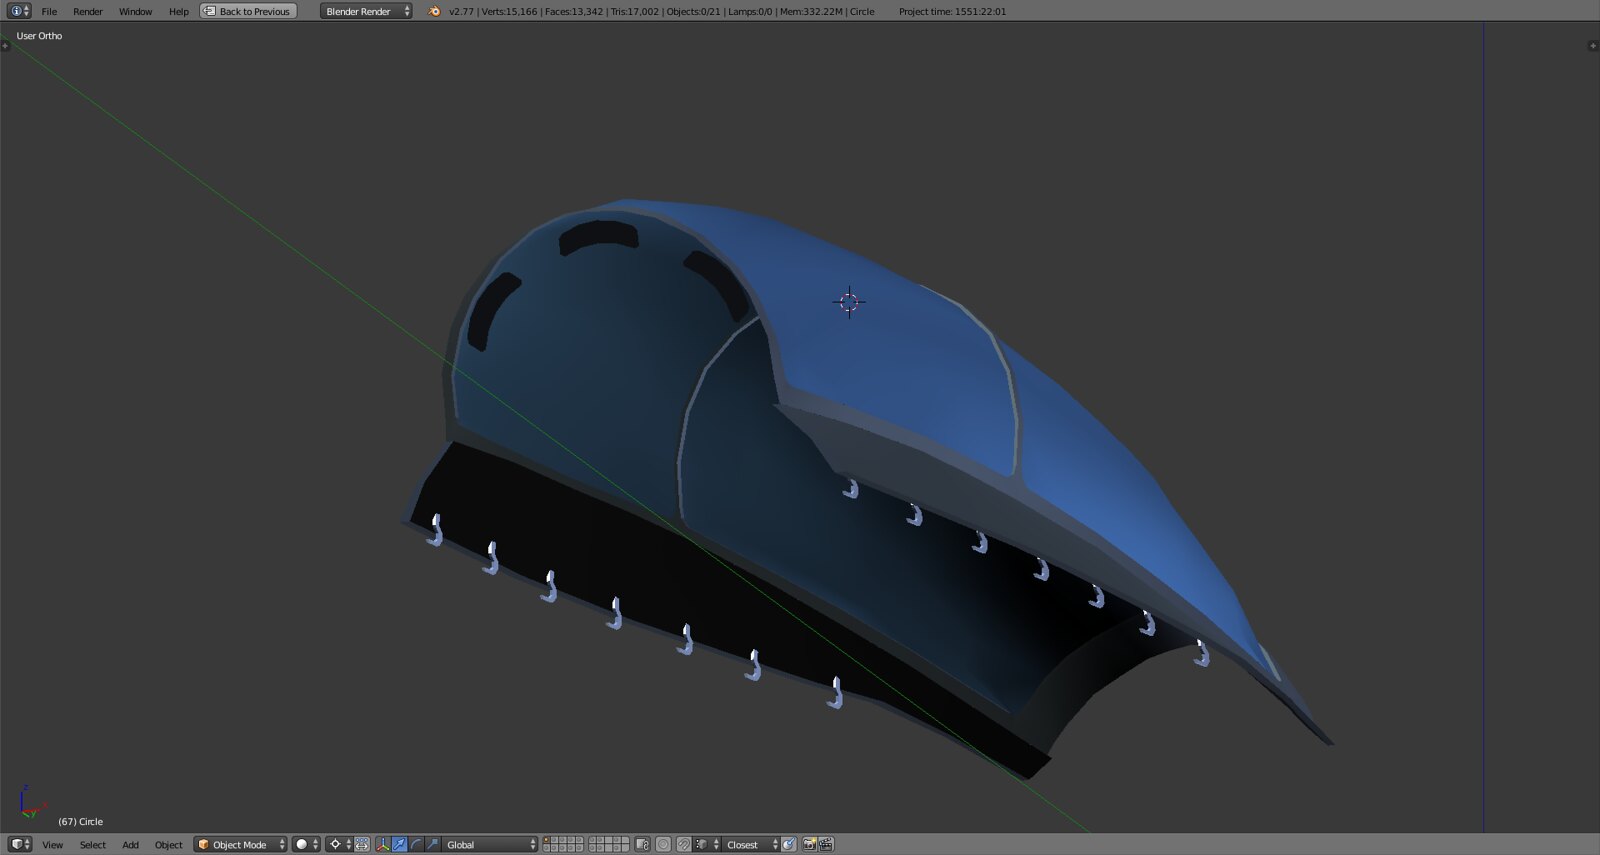
Less than 400 tris for a great deal of immersion when sitting on the deck with canopy opened.