I’ve been dropping alot of CBU lately on our server. CBU-87 mostly, but I do try to match the weapon to the target. CBU-52/58 against softer targets, -87 against mixed battalions like Motor Rifles or Mech, and -97 or Rockeyes against armor. CEM is my favorite though. It’s sort of the weapon equivalent of the Viper itself. Not the best against anything, but the best against everything.
This is a complicated subject, since there are many factors to consider – target type, stationary/moving, threat environment, weather/visibility – and probably most important – how they are deployed.
But in general this is my approach. I recon the map looking for the most profitable targets. These are full strength battalions deployed in column. Now, F4 has an issue with sometimes placing multiple battalions on top of each other, so that when you recon the target you might see three or four battalions all deployed together. Of course this is exploiting the campaign engine, but they’re there, after all.
Further, I look for these battalions that are stationary. Click status and see if they have a ETA. If ‘None’, they are stationary. If I am selecting this as my target, I continue to use recon to both select my strike heading and to set a precision steerpoint. Rotate the recon screen to find the heading that matches the deployment axis. Stationary battalions are almost always oriented 90/270 or 000/180. I ripple all of my CBU if on a column, so I select what I determine to be the center enemy unit and set as the precision steerpoint. BMS ripple deliveries place this point at the center of the string, so some bombs will fall short of it and some long. If your target is underway, then select a unit near the head of the column (will need to be done in-mission once acquired) so that the column will drive under your bombs as they fall.
Drag the strike heading flight path to match the deployment axis you found in recon. You can click briefing to double check you’ve got it right. I like to set my IP to 20 miles on every ground attack mission I do. It gives me time to turn on the heading, switch modes/sensors, acquire the target, designate and get lined up.
On the ramp/during taxi/enroute I set my bombs up. I use a 6-minute taxi time so there is usually plenty of time to do this on the ground. There is no single formula here, But as a general rule of thumb with CBU-87 I will set it to ripple all (four usually, sometimes eight) with 555-777 feet spacing and a BA of 3000 feet. I set the loft angle to 25 and fuse to nose, arm delay 1.00. In addition, rippling more bombs with longer spacing puts your jet at more risk since you need to fly your delivery profile for longer.
I use three main methods of delivery CCIP, CCRP and lofting. CCIP is the most dangerous, and I usually opt for one of the others. CCIP tends to bring you down in to the IR SAM envelope, and just about every full-strength enemy battalion is going to have IR SAMs. The added accuracy of CCIP is not needed with CBU.
CCRP works great and I will use this if I don’t expect the enemy can touch me at my attack altitude, usually around 17,000 feet. Just fly over, select your precision steerpoint while lined up and pickle. Kills.
Lofting is my new favorite thing. Lofting CBU from high altitude is accurate (no wind effect on the long fall time) and safe and cozy. I love dropping CBU this way. Look at it this way. When you drop CCIP you will be looking over your shoulder to see your bombs (and incoming SAM trails) from 9,000 feet. Lofting them you are doing the same (sans trails) from 22,000 feet. One is very much safer.
So the bottom line for me is to do the recon work, find the profitable targets and set myself up for success. That’s the key. Good target, matched heading and a precision steerpoint. The actual attack is nothing special. It is the recon work that destroys multiple targets. Of course if you are attacking scattered, wedge-deployed units this doesn’t work.
A few screens from various attacks flown on the server last week.
Here is a 25-degree lofted attack started at 15,000 feet against a battalion of rocket artillery in KTO Iron Fortress. Hard to see from such a safe location 
Good fires, 28 kills

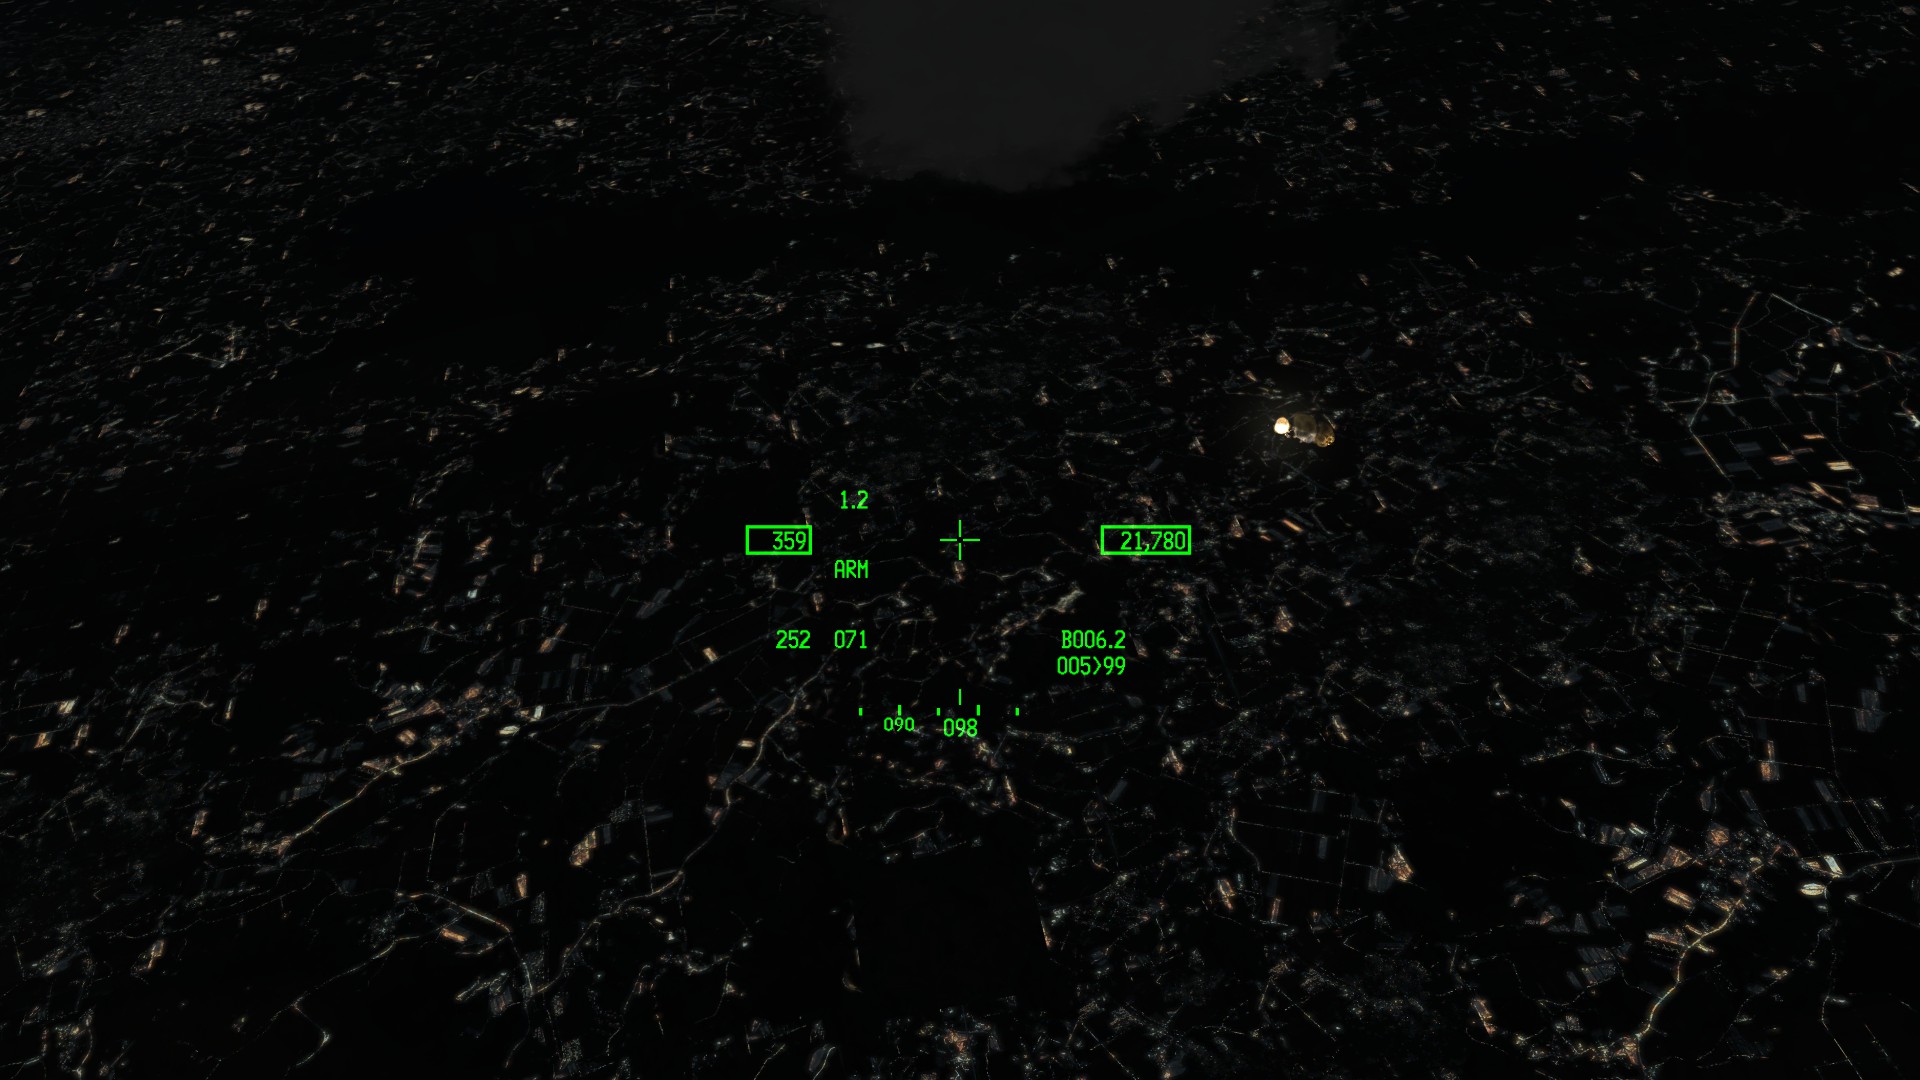
Here is the view you want to see just before you drop your bombs. Perfectly aligned along the deployment axis of the target. I always use steerpoint 99 and just calling up the steerpoint you will be centered on your target. As long as you have set up your flight path properly, all you need to do is fly your cues and pickle. This attack was 55 kills.

The target was obscured by solid overcast, so I swung out from over it to have a look through the sniper pod. Good fires

I point out the kills not to say how awesome I am, but to highlight the ease with which these attacks occurred, and how profitable they were. I mean, I am lofting CBU from high altitude for cryin’ out loud, not a whole lot of skill required there. The key is what I did before I left the ground.
")